14 – 20 April, 2025 — Donita Kadharusman
Games Art Pipeline 24/25
2D — Creature Concept, Week 6
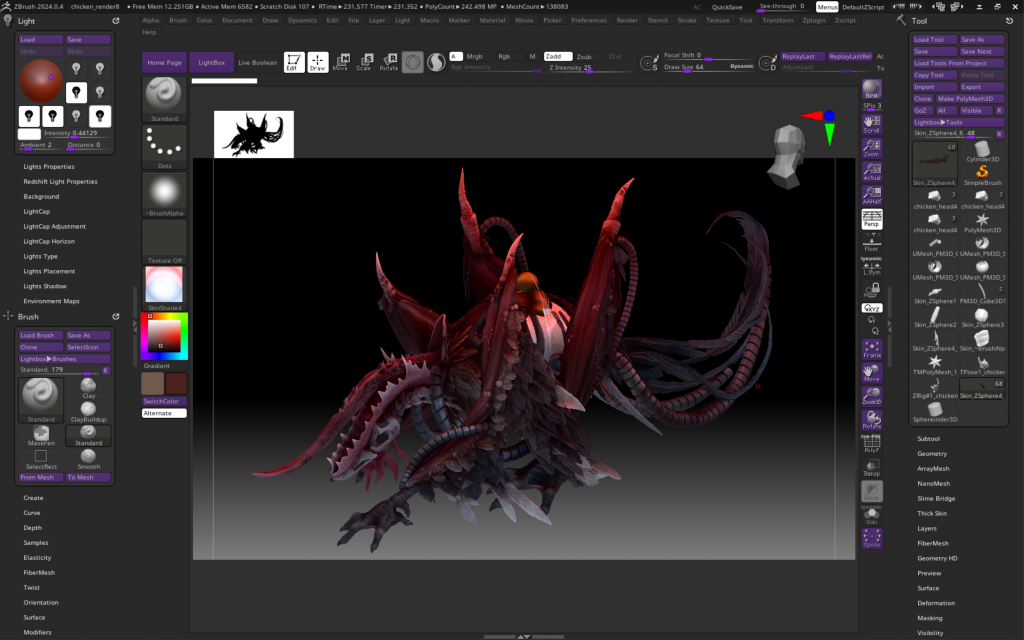
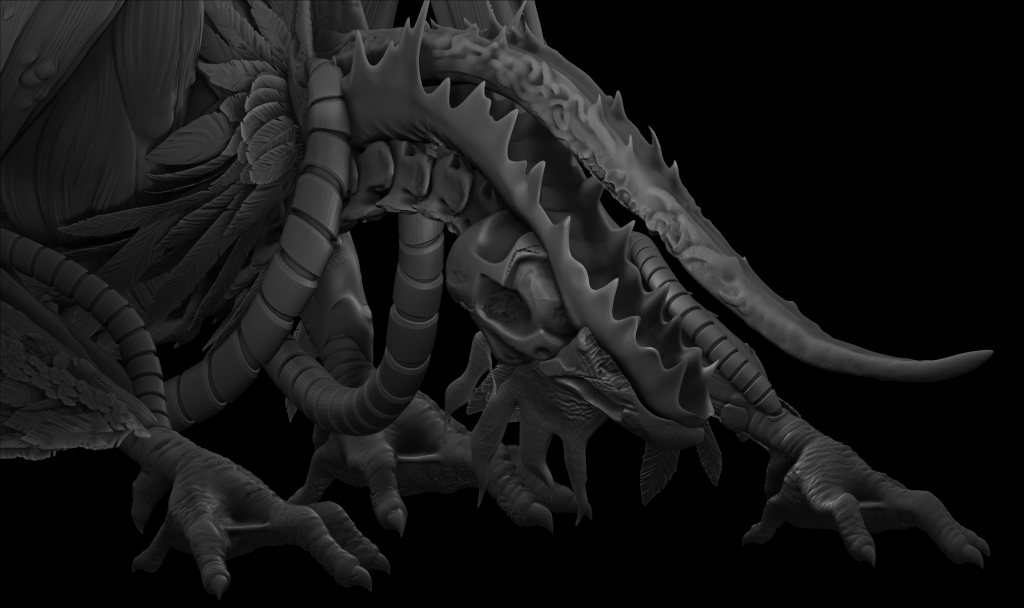
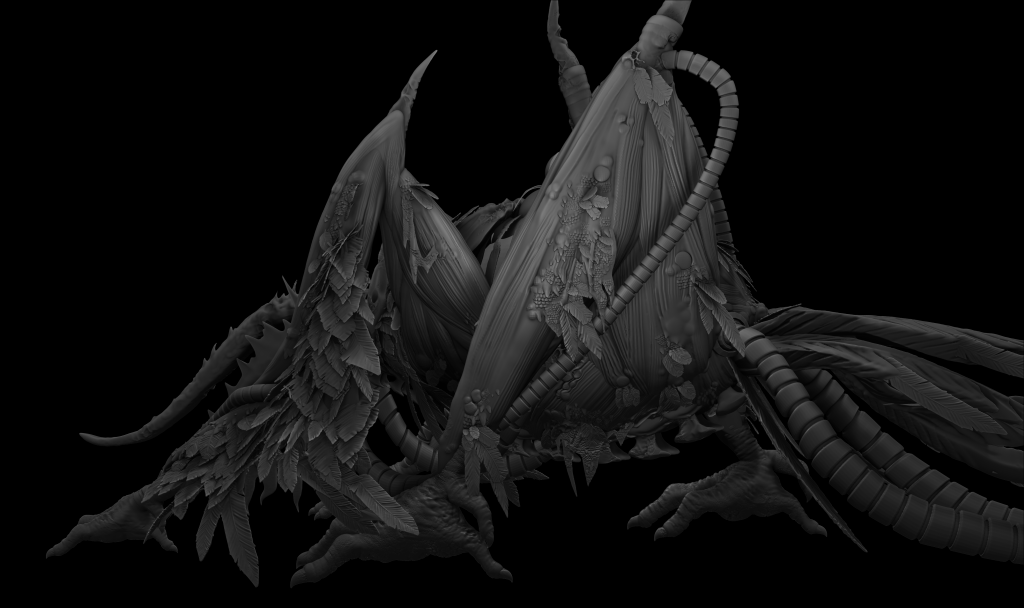
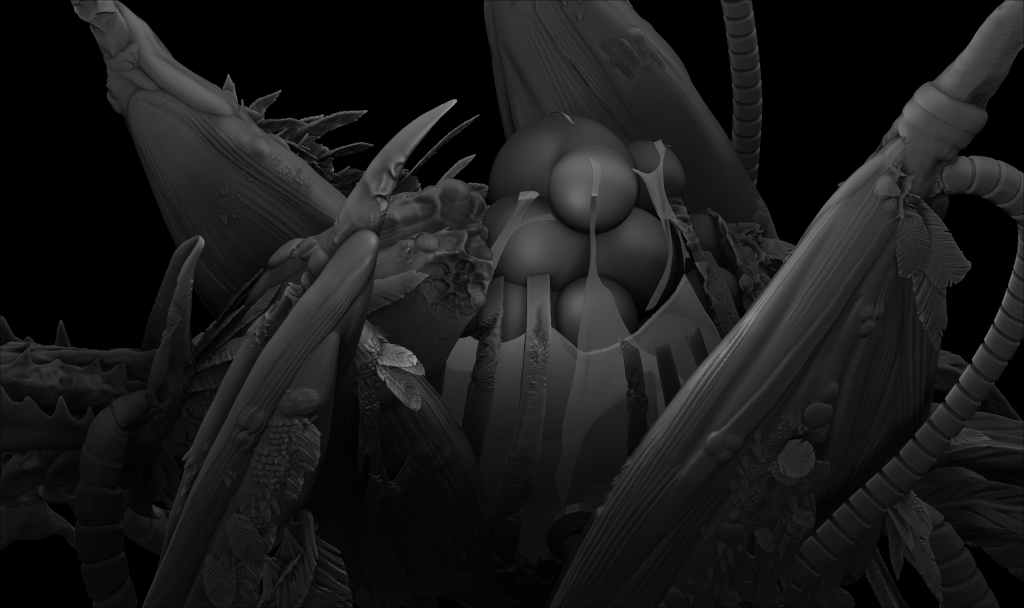
3D Model (Camera Angles)
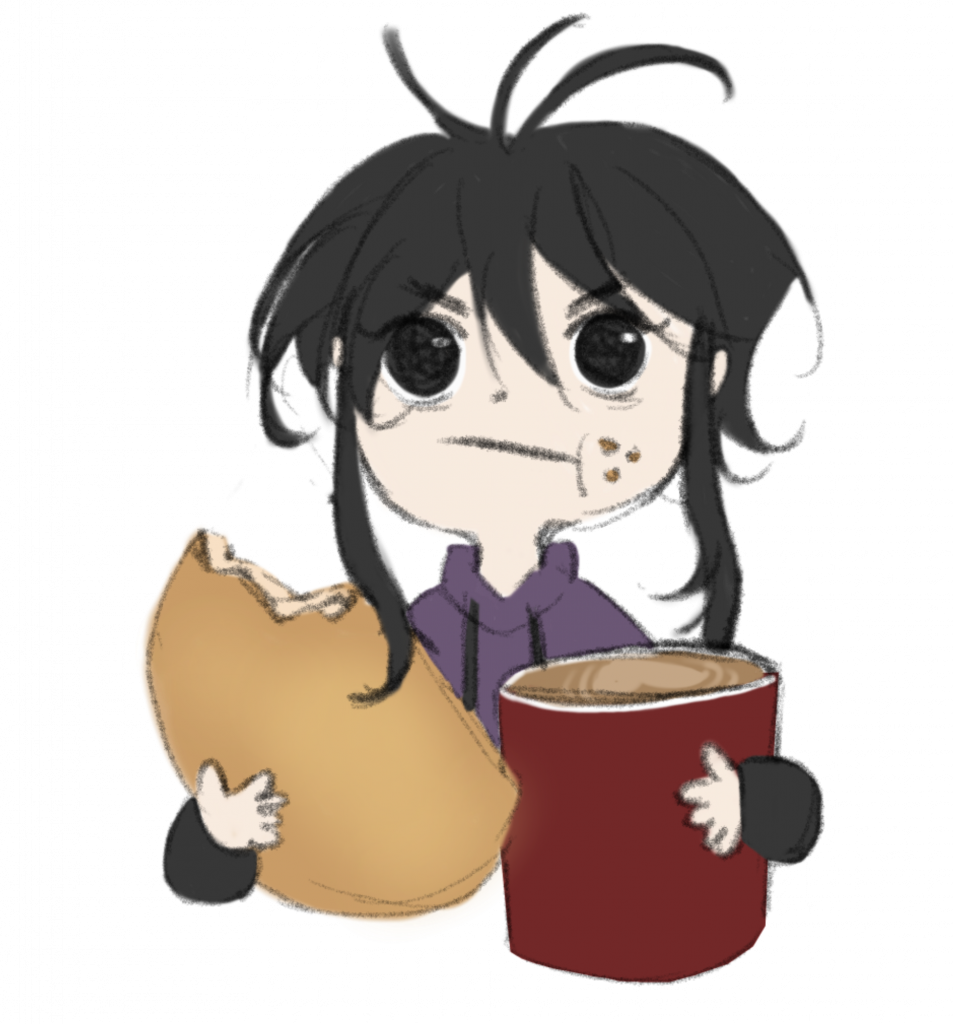
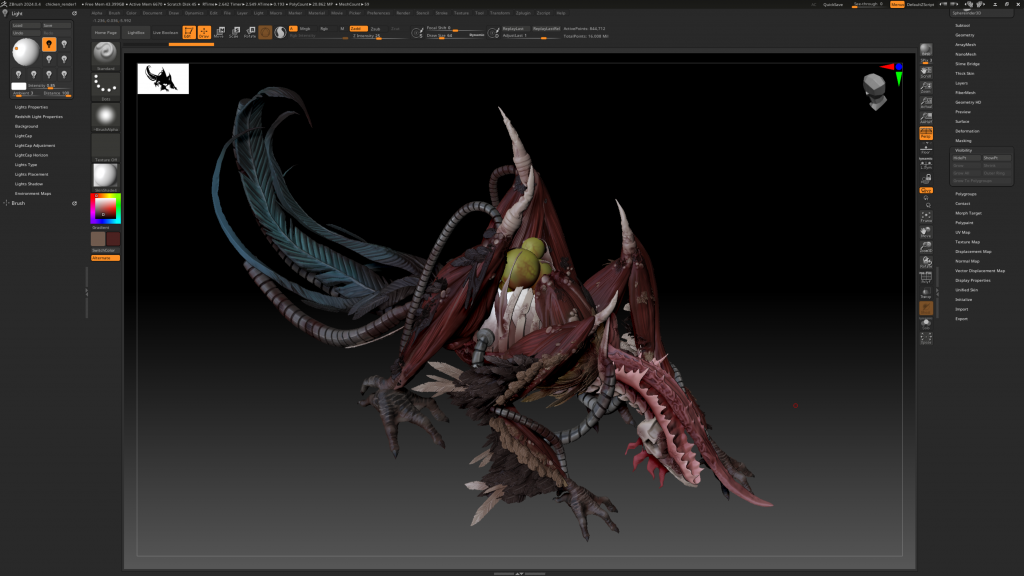
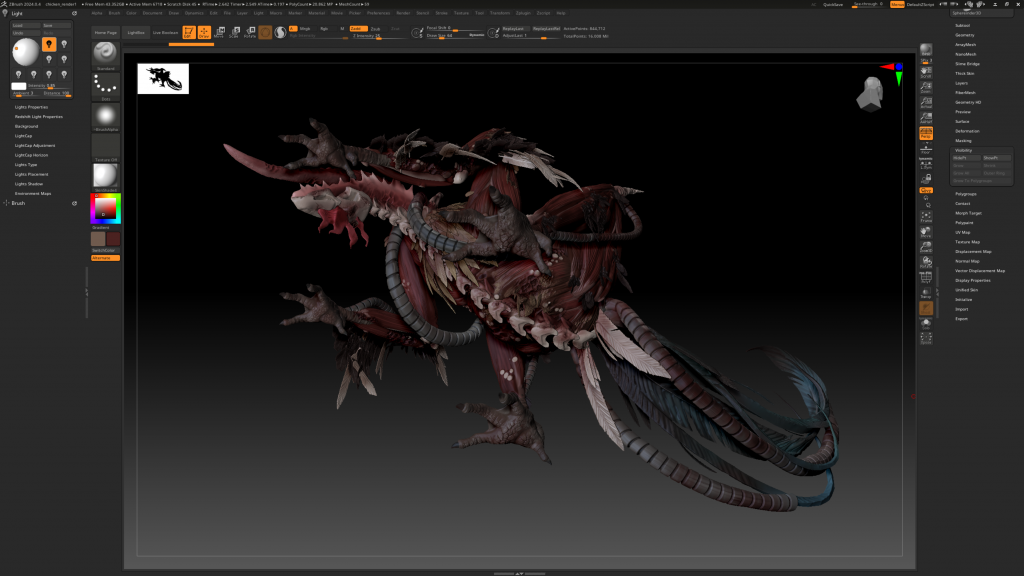
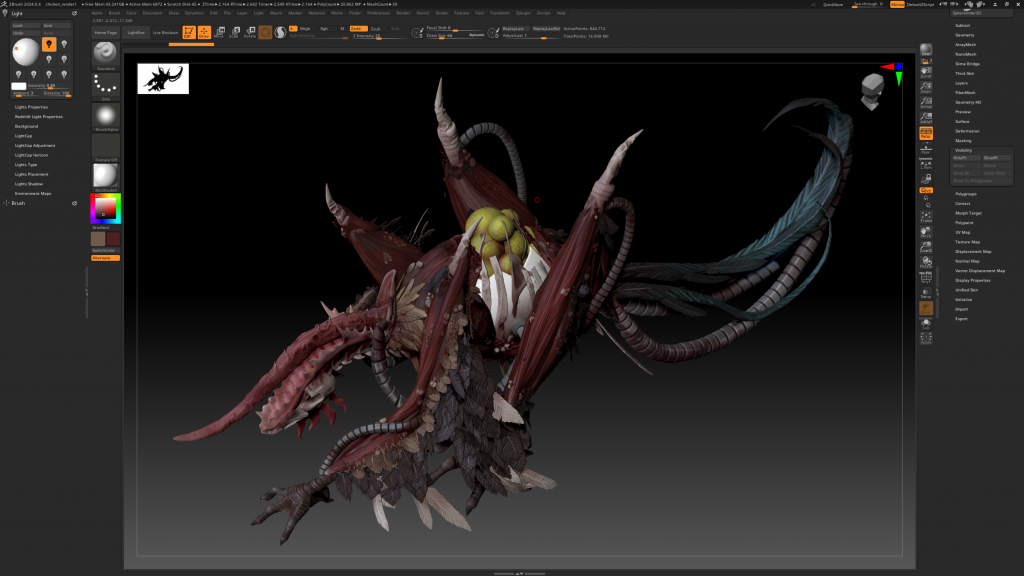
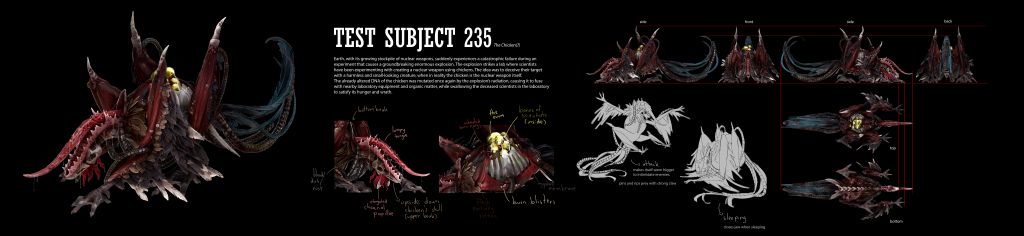
I tried experimenting with some camera angles in ZBrush by storing them in the ‘Draw’ menu. My aim was to highlight the chicken’s primary design elements, which are the head and the ovum that holds the deceased scientists, while also conveying its predatory nature. After some experimenting, I decided to go for the 2nd camera angle as it shows my required aim. Additionally, the camera angle isn’t as high or low as the 5th and 6th shots, as the 5th camera angle reduces the predatory atmosphere while the 6th overcrowds the detail.
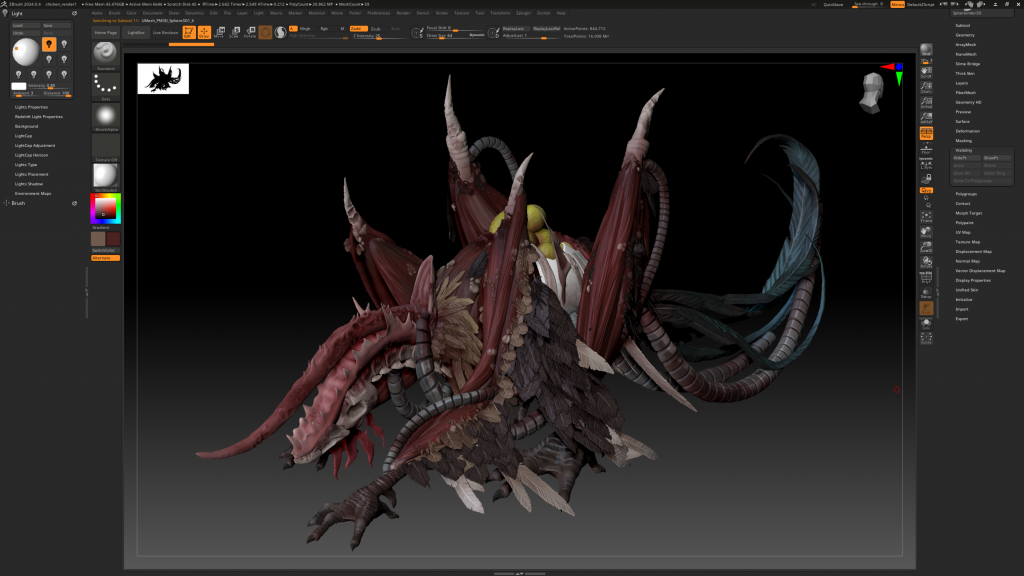
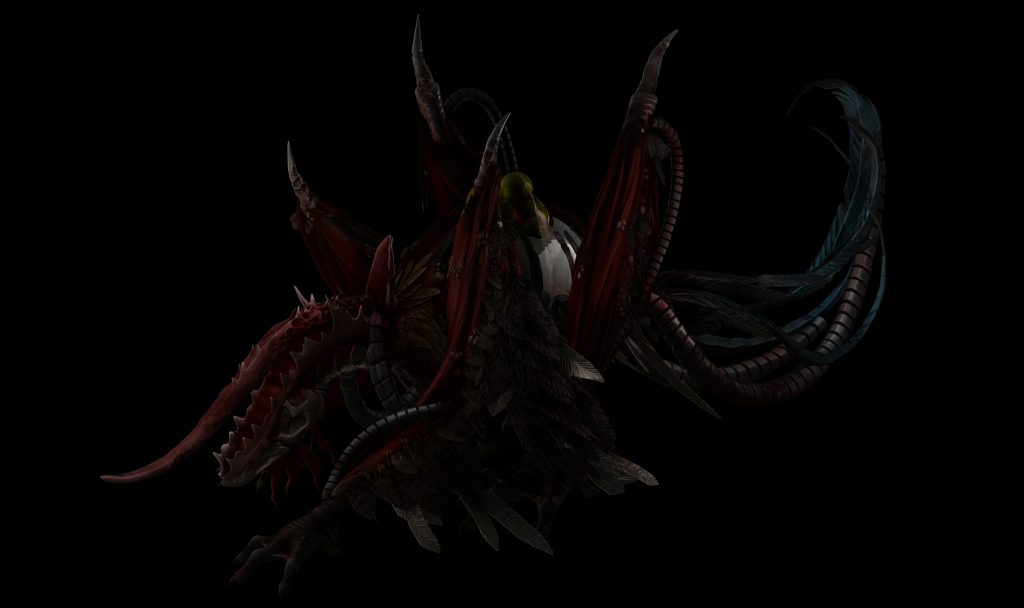
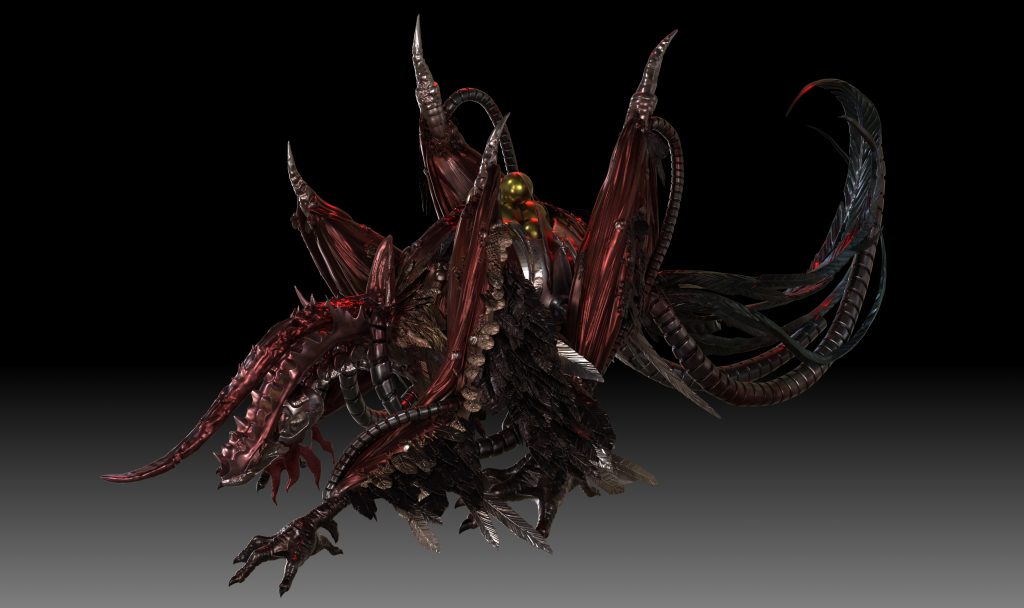
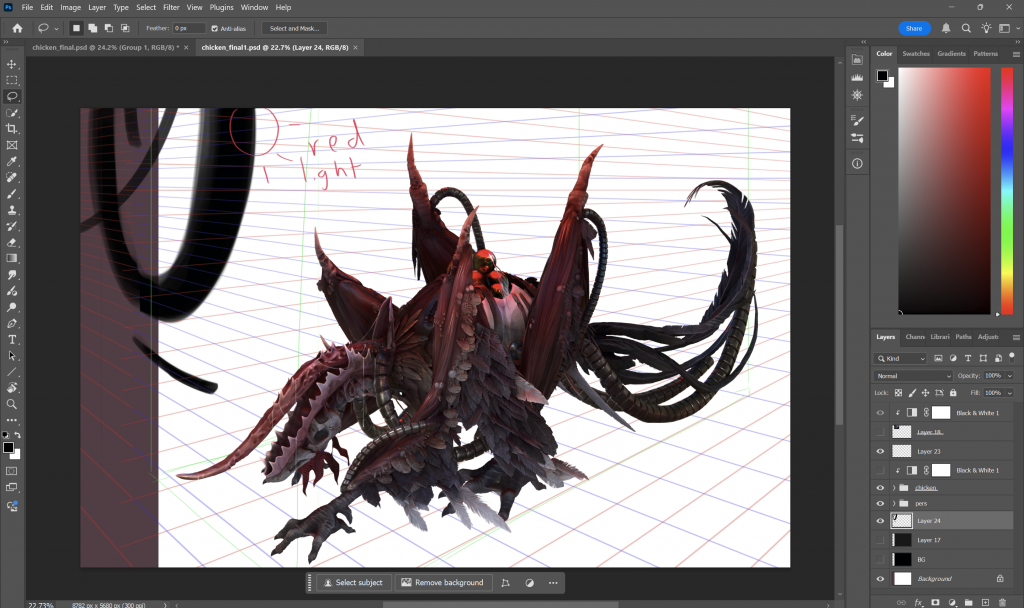
3D Model (Lighting)
To enhance its predatory and dangerous atmosphere, I mainly used red lighting and blue light as a complementary colour to intensify the impact of the red lighting. Yet I ran into a problem where the shadow would overtake the whole lighting, so I asked my tutor for some advice.
Feedback: Increase the resolution of shadow and ambient occlusion.
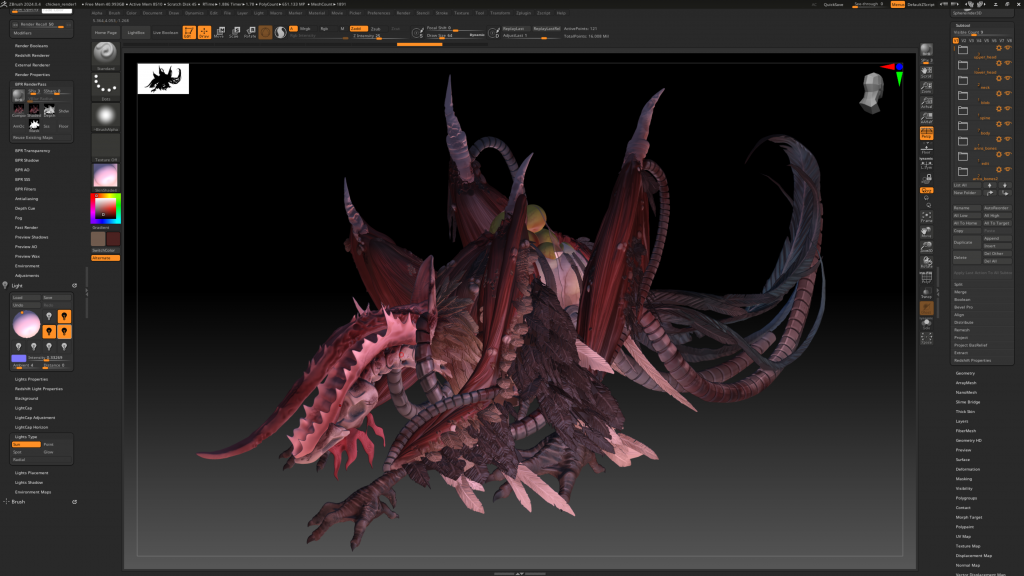
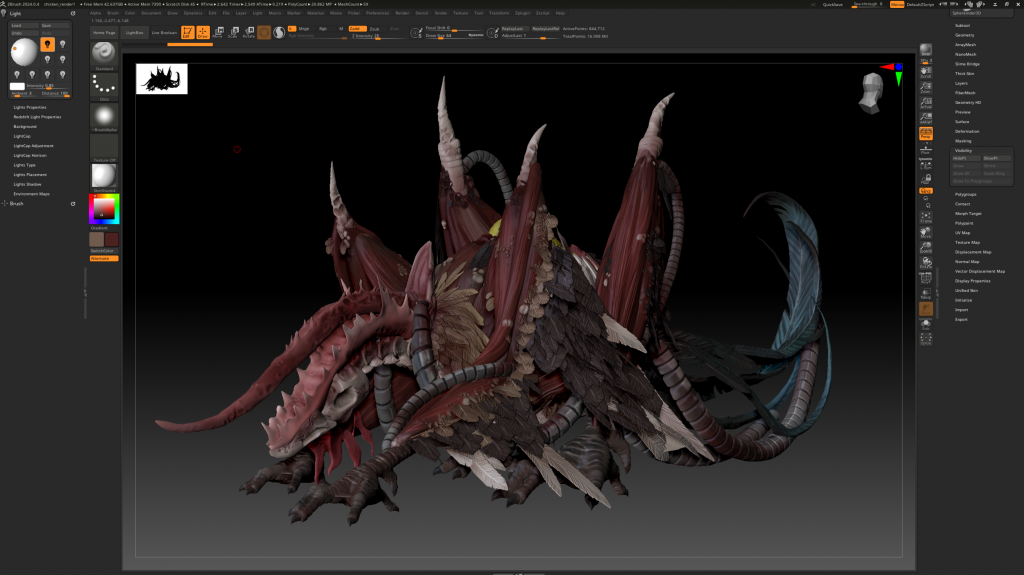
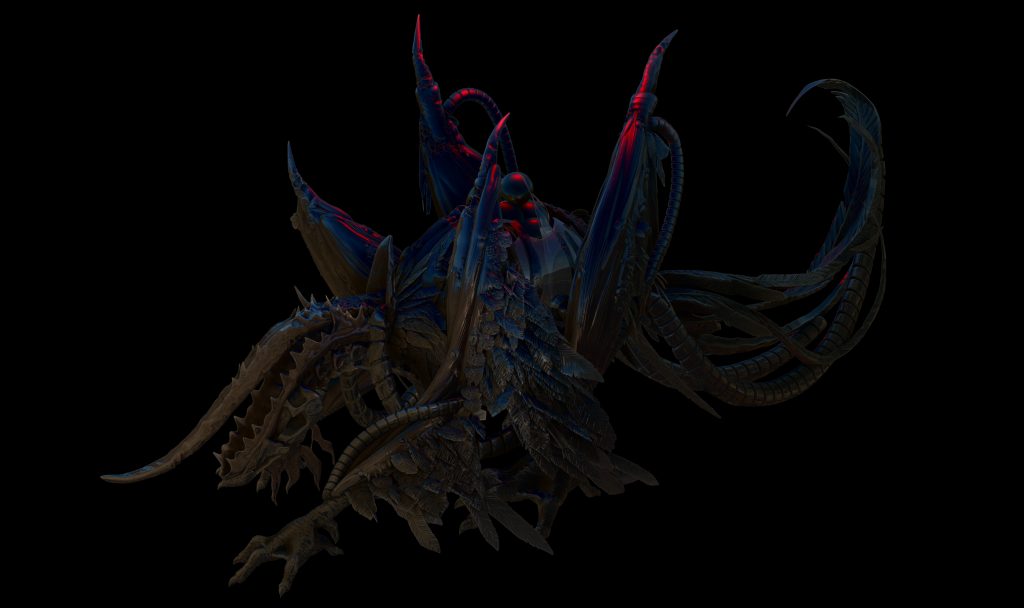
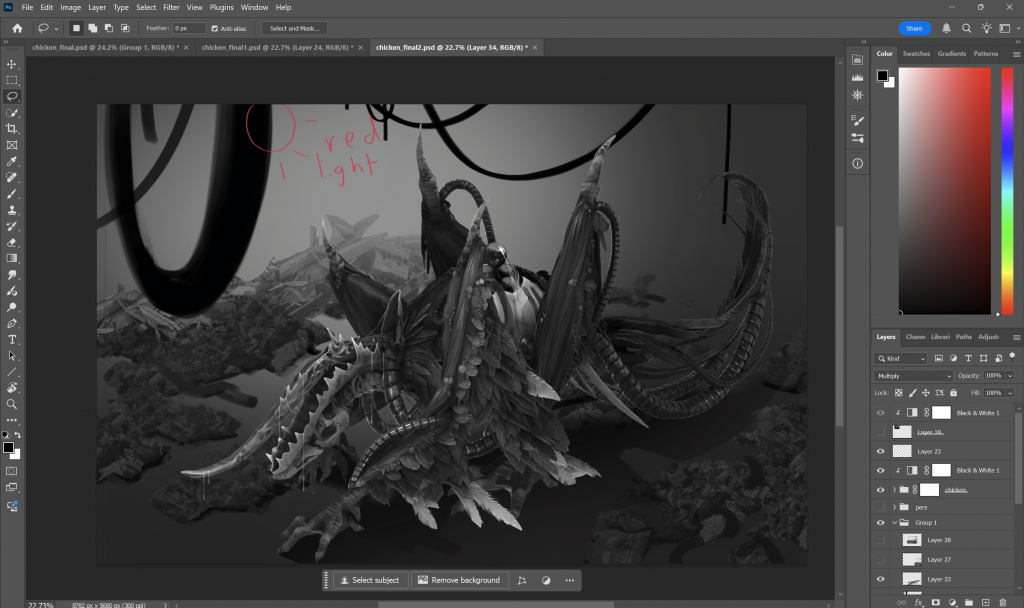
He advised placing each resolution to approximately 4000, as a result, the shadows were positioned as intended. However, I was still unsure about the use of red lighting, hence I moved its source to the back of the chicken, creating a backlight to further enhance the menacing atmosphere.
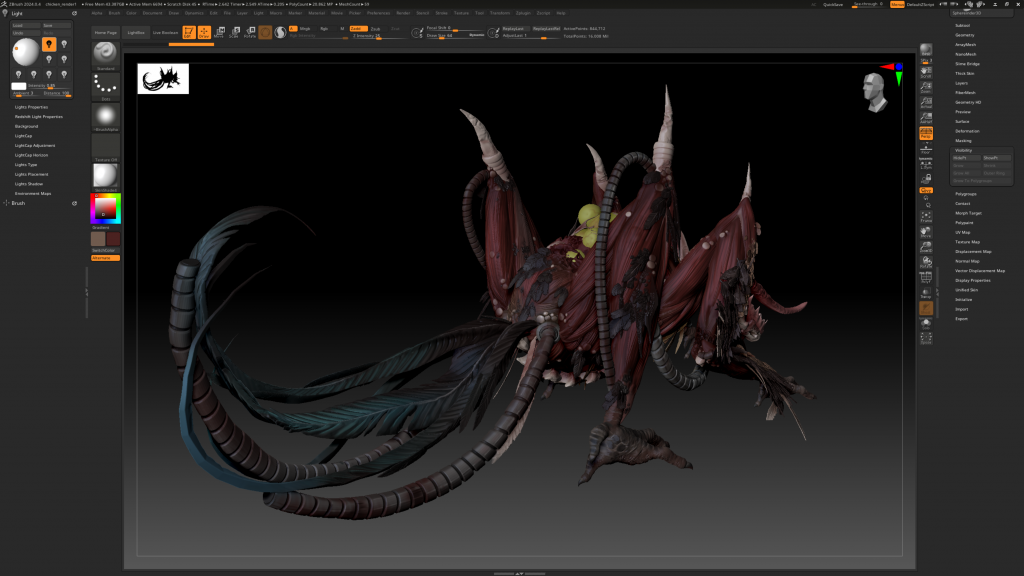
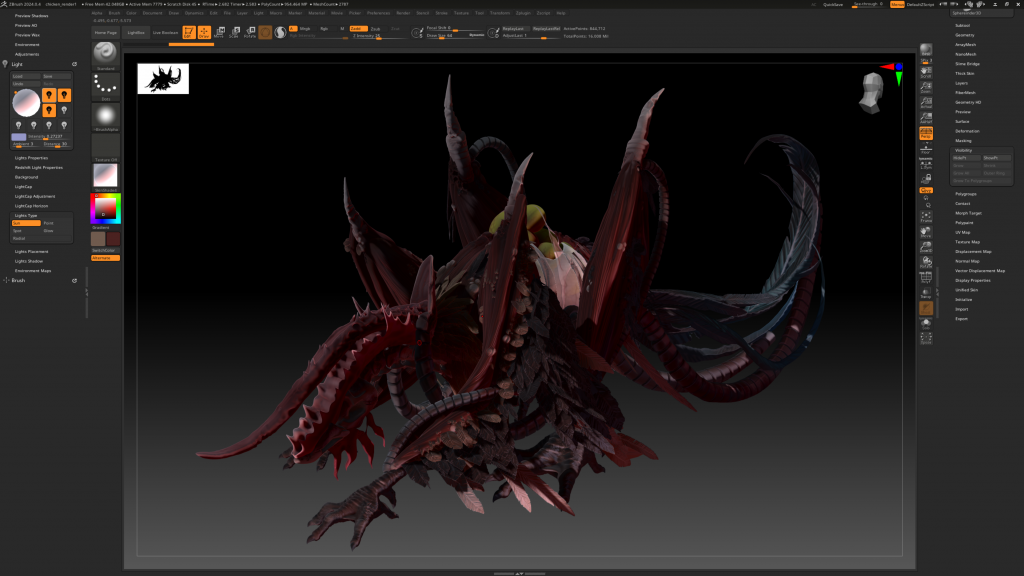
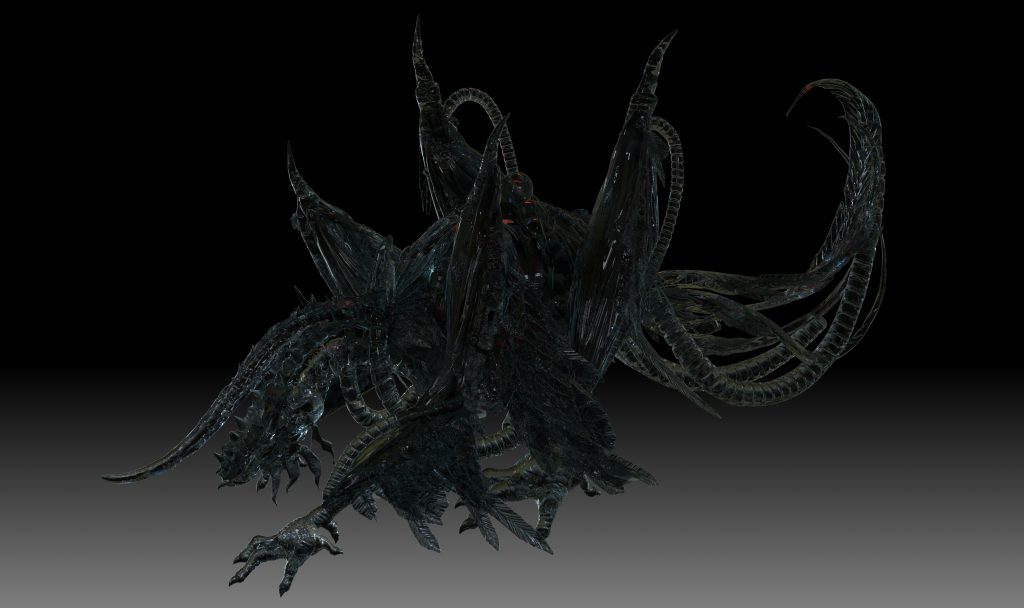
Feedback: (see picture 3) Creature still too dark, intensify the rim light and add neautral key light and fill light. There’s no pure black shadow in real life.
He once again clarified that there’s no such thing as pure black in real life, as our eyes continuously adapt to surrounding light conditions. Furthermore, he mentioned that rim light is used to highlight the edges of the creature, while key lighting serves to illuminate the whole chicken. The fill light is an additional light to fill dark spots.
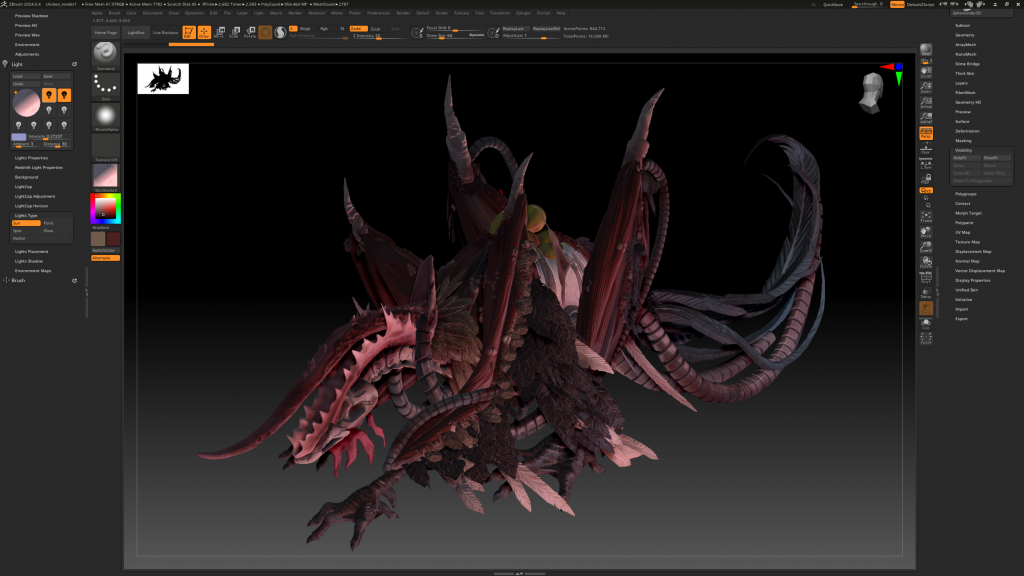
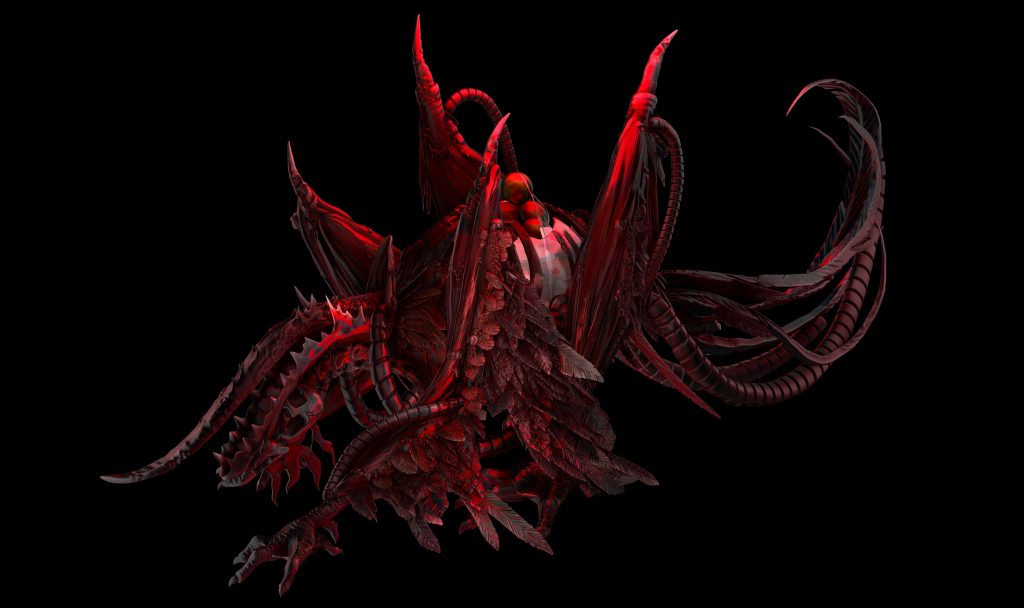
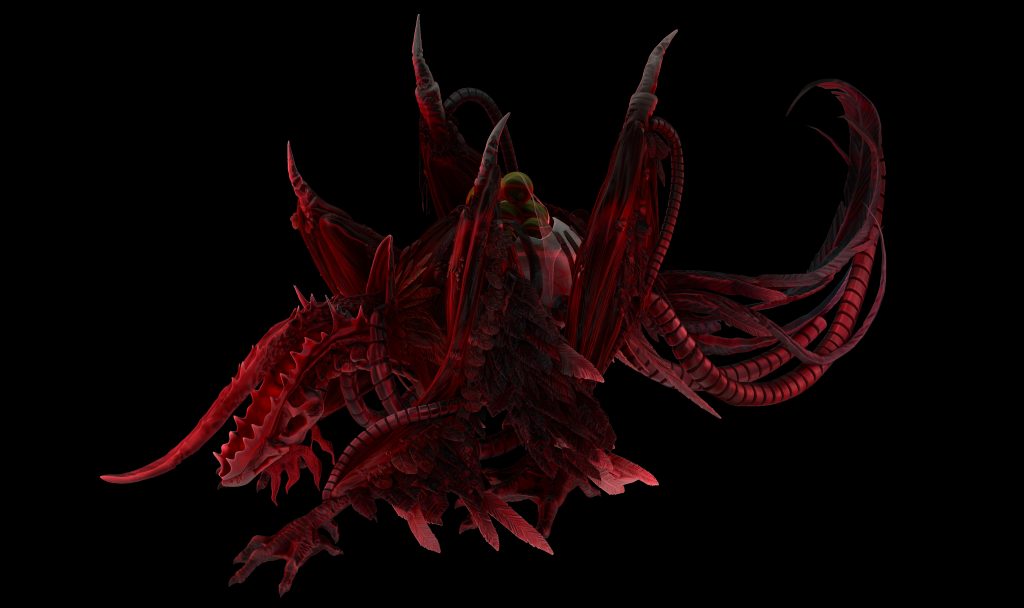
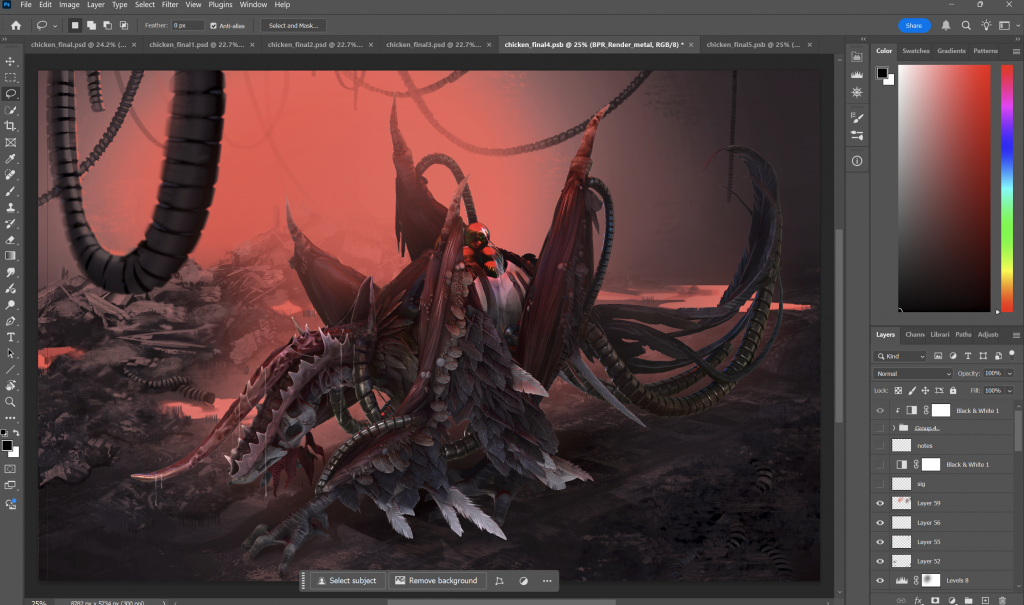
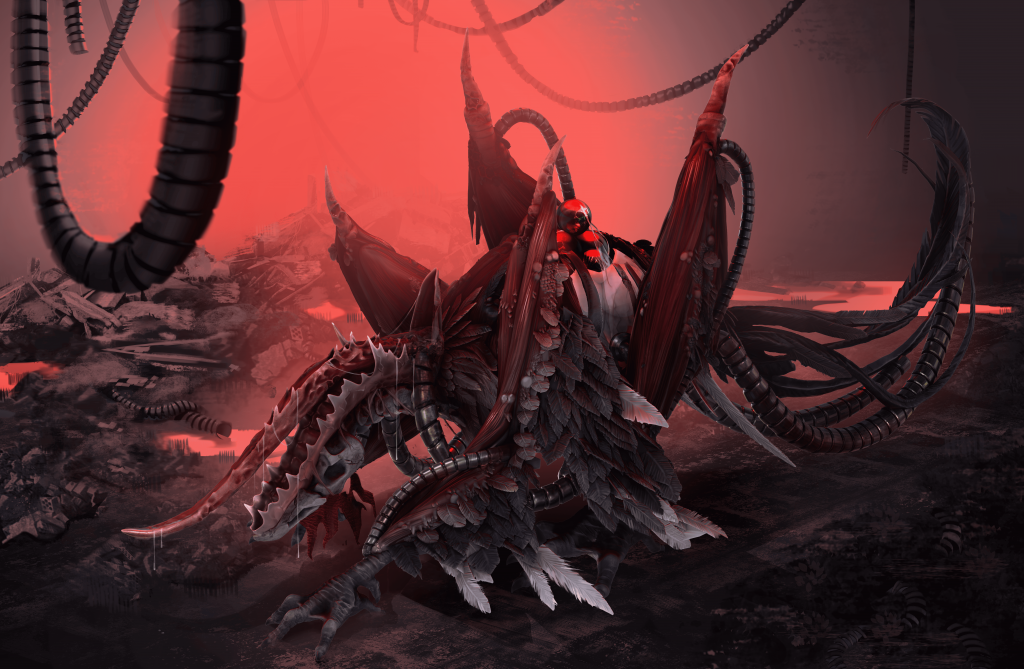
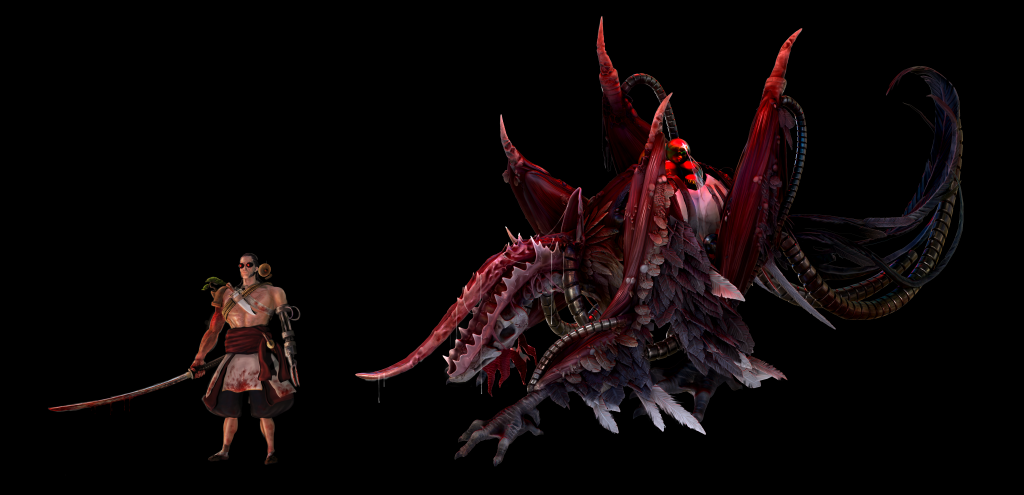
Hence, I applied all of these suggestions, and the final render was finally produced (see picture 4). As a character must also be produced, I decided to create an additional final render by using neutral lighting to show the chicken’s natural colours (see picture 5).


Character 2D Concept Art
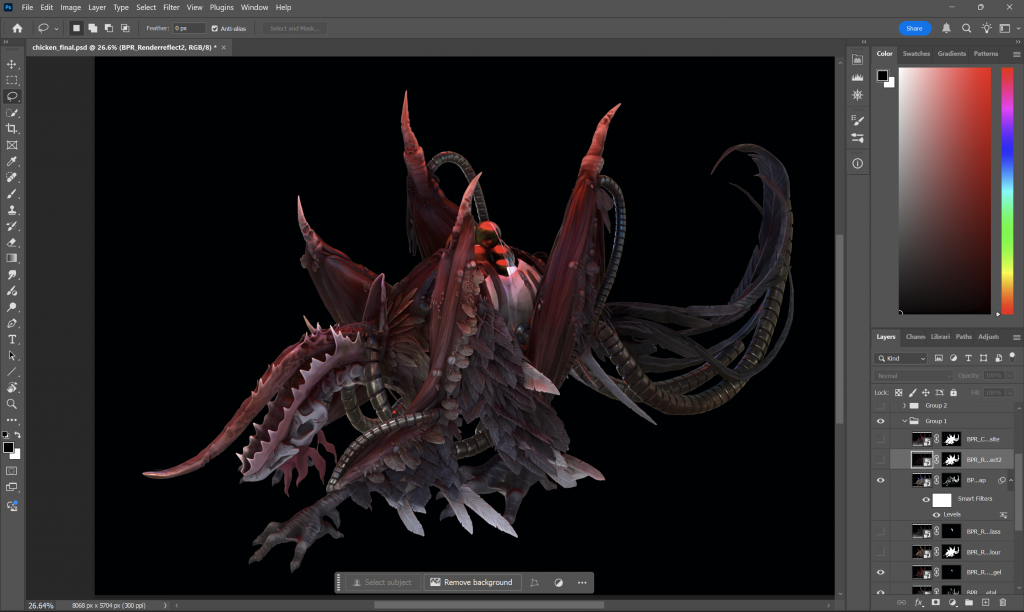
Feedback: Render our reflected map texture to create a wet surface look on its flesh.
Besides Reflected Map, I rendered various textures that would complete the final 2D concept.
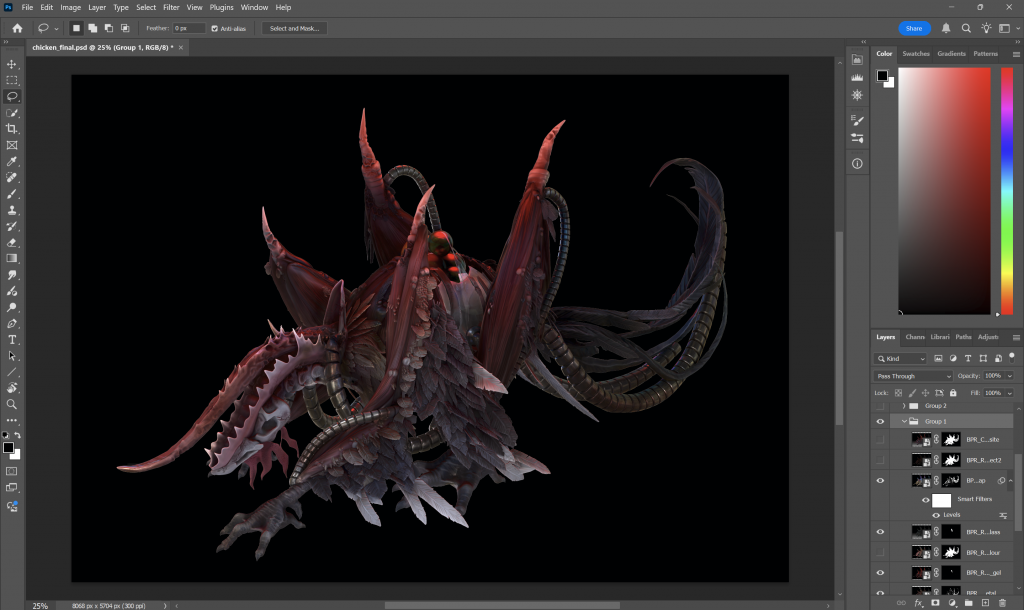
After some experimenting, I decided to only use reflected map, gel, and metal texture for the concept as the other textures would result in unwanted lighting/surfaces. Reflected map texture to highlight the wet surface of its flesh, gel for the eggshell membrane, ovum texture, and parts of its tongue and neck, while metal texture for its pipes.
Adding the glass texture creates a glossy glass effect on the membrane eggshell, which conveys an impression that it’s a fragile glass rather than a biological slimy membrane (see picture 2).
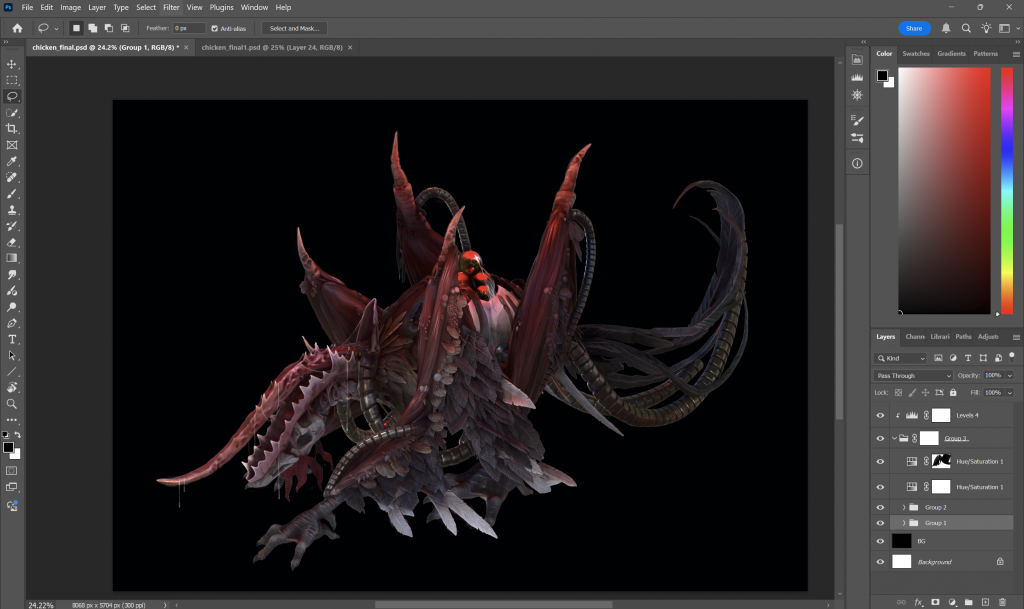
Feedback: Add tongue and bone surface texture. Add more detail to the neck, such as veins, as it’s still a flat surface compared to the other elements of the chicken.
Considering the feedback, I used photobashing technique to efficiently apply bones and tongue texture to the chicken. While I manually paint over the veins myself. Furthermore, I added some bone remains of the scientists using photobash inside the ovum and painted drools to highlight its predatory hunger.
Afterward, to highlight its atmosphere and backstory, I decided to create a simple background in order not to overcrowd the chicken (as the chicken’s design is the main focus). My team (YC) and I decided to go with a ruined laboratory as the chicken’s habitat is its former experiment laboratory.
To ensure a consistent perspective, I implemented perspective grids according to the camera angle of the chicken. Learning from my past 2D project, I realised that colouring in grayscale is more efficient and accurate than manually painting in colour. Hence, I used this technique and painted the background in grayscale then used a gradient map to apply colour and match the intended lighting that I had applied beforehand in 3D.
Furthermore, I purposefully used a strong yet simple red light in the background to further highlight the chicken as its main focus, because this is a character concept.
Reflecting on the last 2D project’s feedback to seamlessly blend one object to its background was to add elements of the background on top of it. As a result, I added red ambient lighting to the chicken’s arm and leg on the other side, it also created a sense of depth.

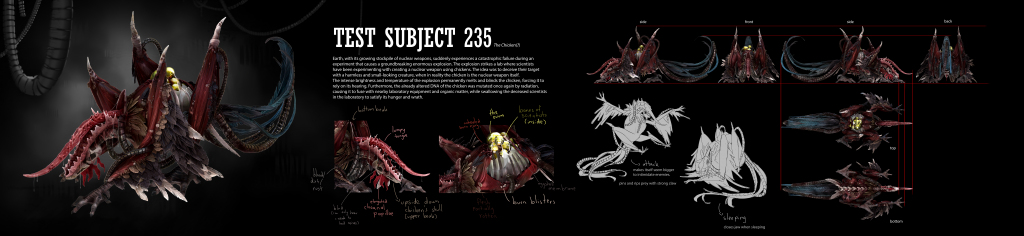
Character Sheet
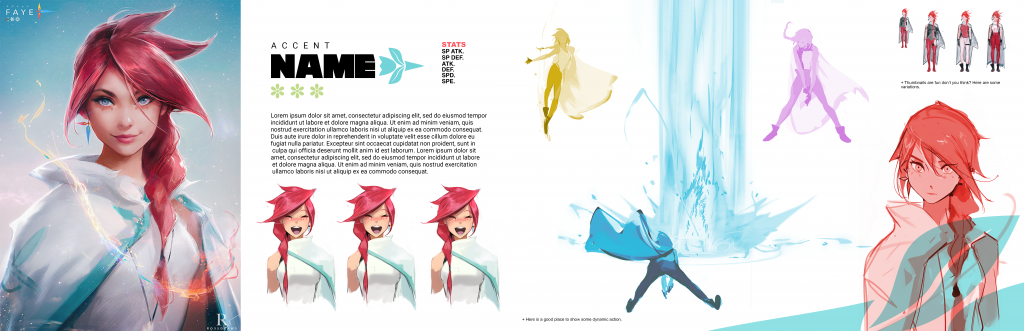
The character sheet design layout inspiration came from Ross Tran’s Faye character sheet from his master course episode (2025). A character sheet’s main purpose is to provide information about the character, so they can be developed further during production. From Tran’s character sheet, he introduced his character’s history / characteristics briefly in 1 paragraph, accompanied by the final render/illustration of the character with background on the left to show a glimpse of what she’d look like in the final render. This final render is also what catches the audience’s attention to the character sheet as it’s full of details that’s accompanied by a background. Furthermore, expressions and showcase of how the character react and move to further show her personality and uniqueness. Hence, I implemented these aspects into my own character sheet.
Another element I included was the character’s turnaround to ensure the details of my character are clearly understood.
Peer review: Make claw and feet/hand’s shadow darker to match the overall colour tone.
After implementing it, the chicken’s overall colour tone looks more harmonised. Furthermore, I added a background to the final render of the chicken to make it stand out more and draw the audience’s attention just how Tran’s did.

Outcomes

Bibliography
Tran, R. (2025) Layout Template [From Master Course Episode] [Shopify]. Available at: https://rossdraws.com/products/layout-template (Accessed: 18 April 2025).