10 – 16 March, 2025 — Donita Kadharusman
Games Art Pipeline 24/25
2D — Creature Concept, Week 4
Life Drawing
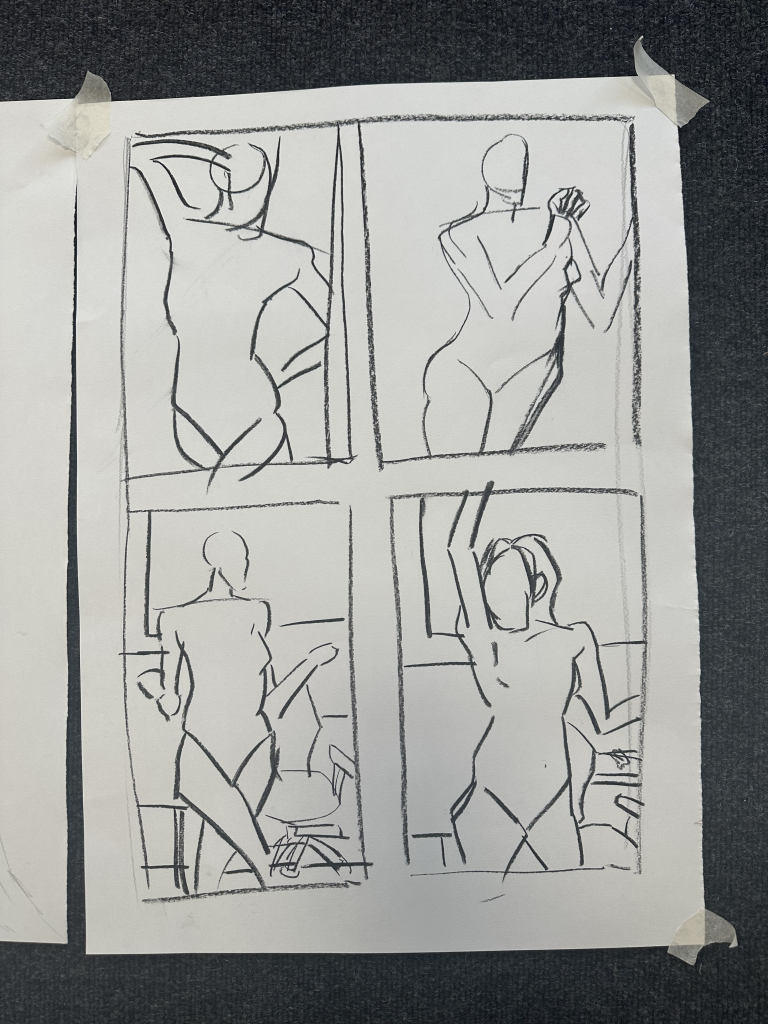
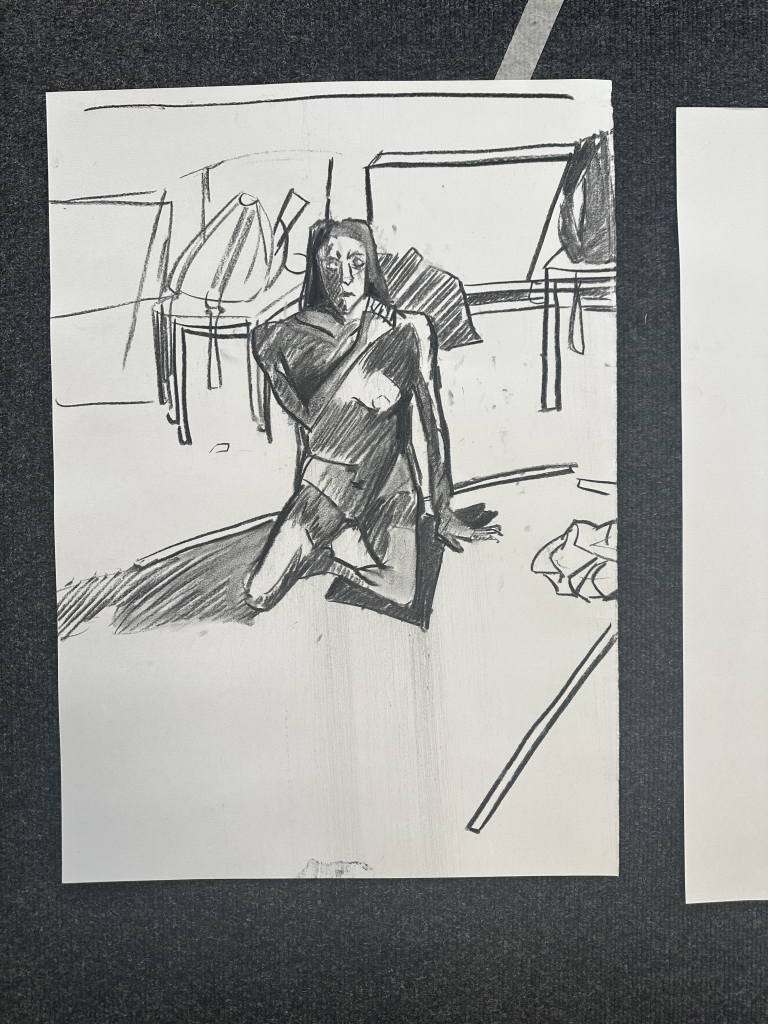
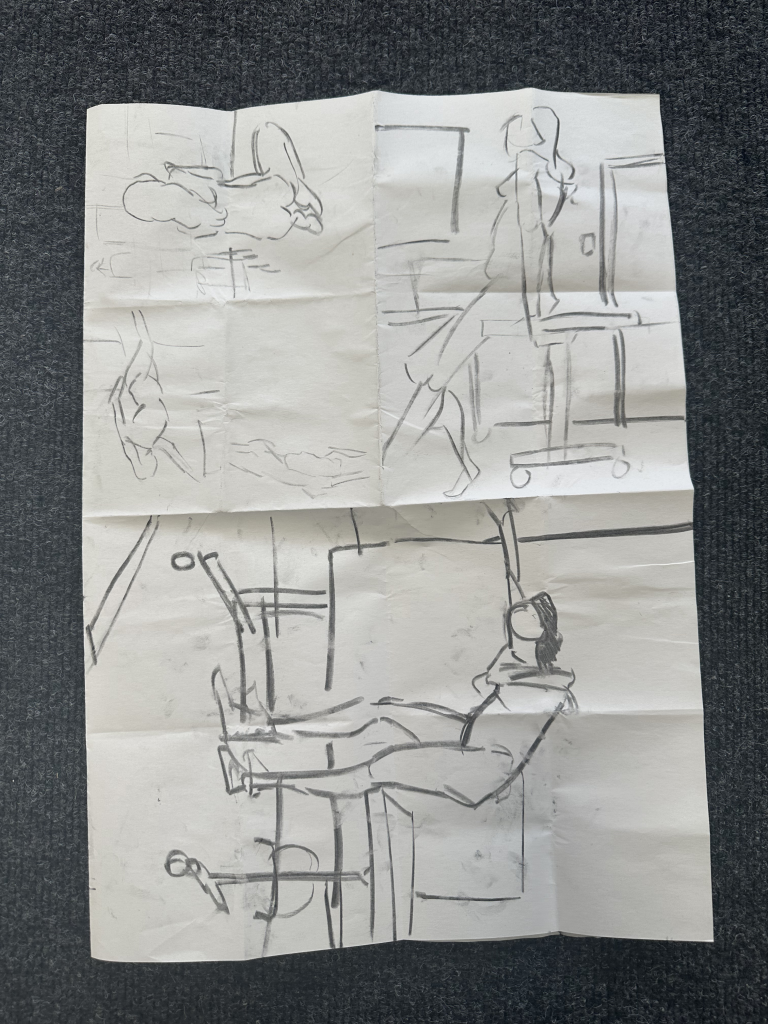
The goal of this life drawing was to draw loosely to reduce tensions and express both our emotions and unique creative art styles in the sketches. One of the most interesting challenges in this session involved drawing the figure from various angles and positions within a short amount of time (see Picture 4). The tutor said that it trains our brains to quickly capture poses in real-life situations, where people would constantly move, leaving little time for us to sketch.
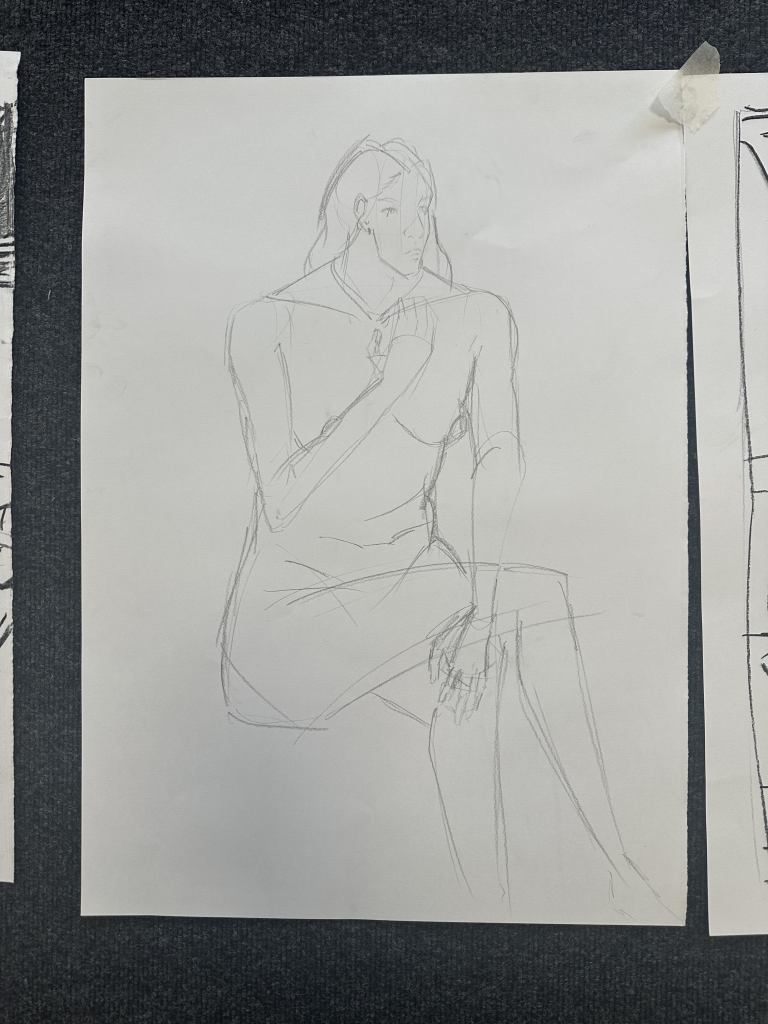
Overall, I was happy that I could sketch loosely, but I found myself still overly focused on getting the anatomy correctly using basic shapes, hence, making the sketch too cartoony. I’d want to improve my skill by creating a more organic approach to my sketches by observing more of the details, such as folds, bumps, and fat and then joining more life drawing classes. Additionally, sketching loosely improves our drawing skills to create expressive and dynamic sketches Because of this, it can benefit in the sketching phase of the future 3D project. I aspire to add a more organic look in the future 3D project.
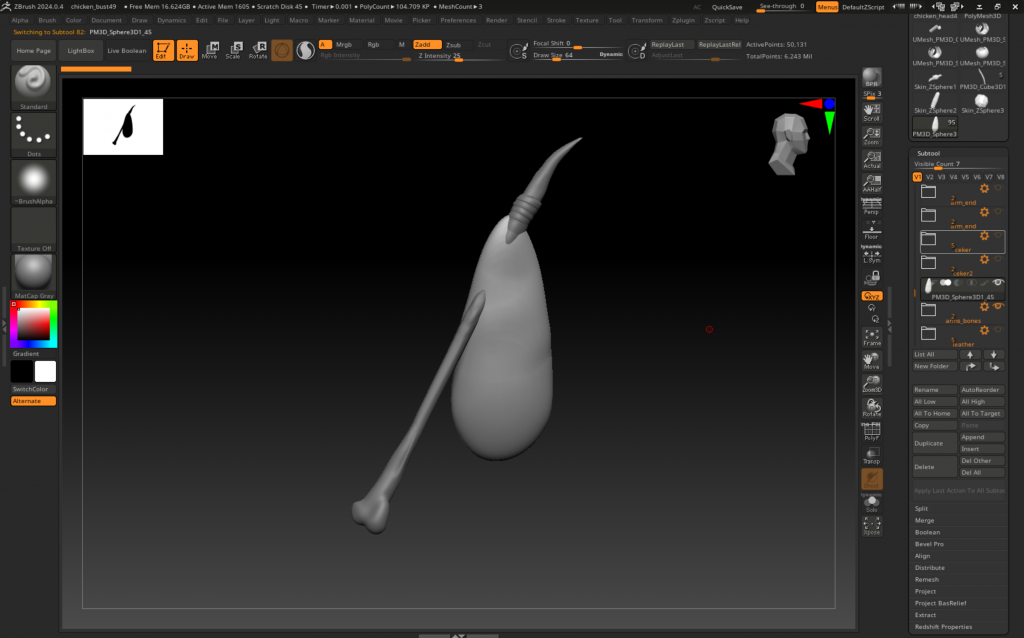
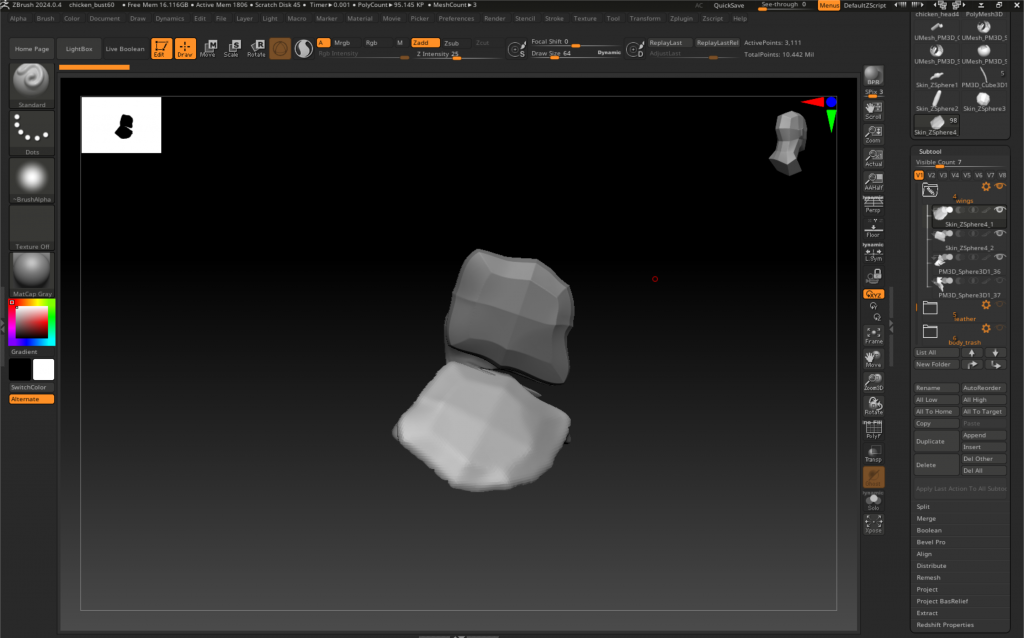
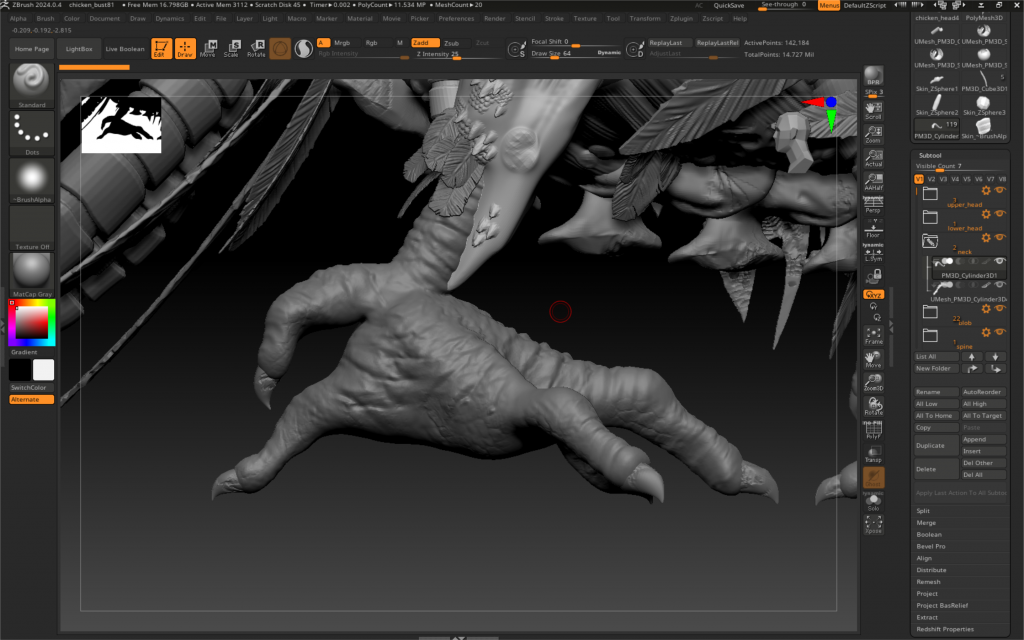
3D Model (legs)
The overall workflow was similar to the process of creating the chicken’s arms: starting from the base model, then creating the bones as guides, carving muscle details, adding feet, mirroring them, and lastly adding the pipes.

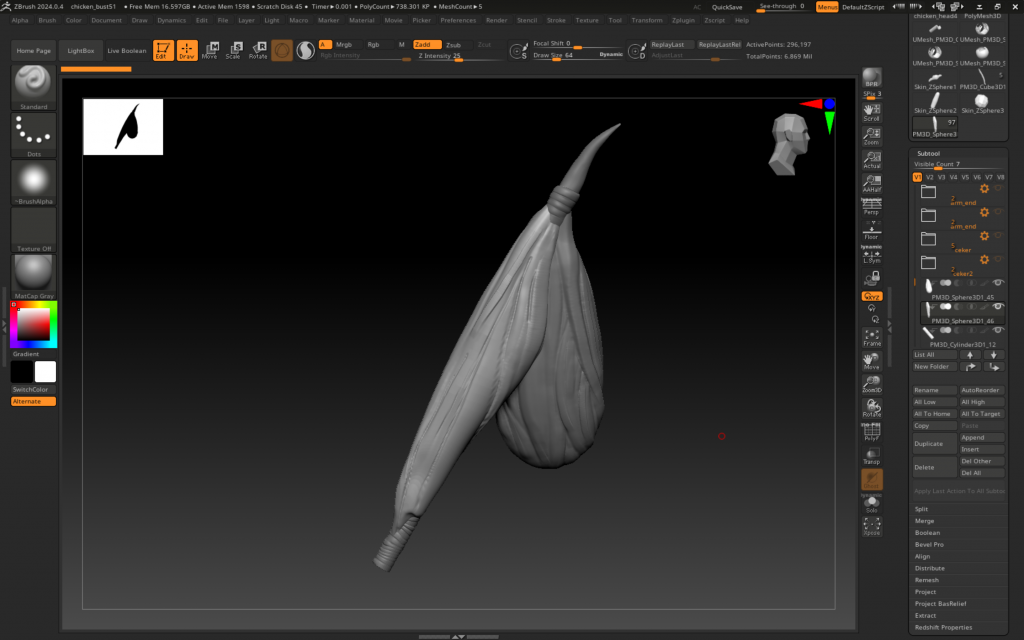
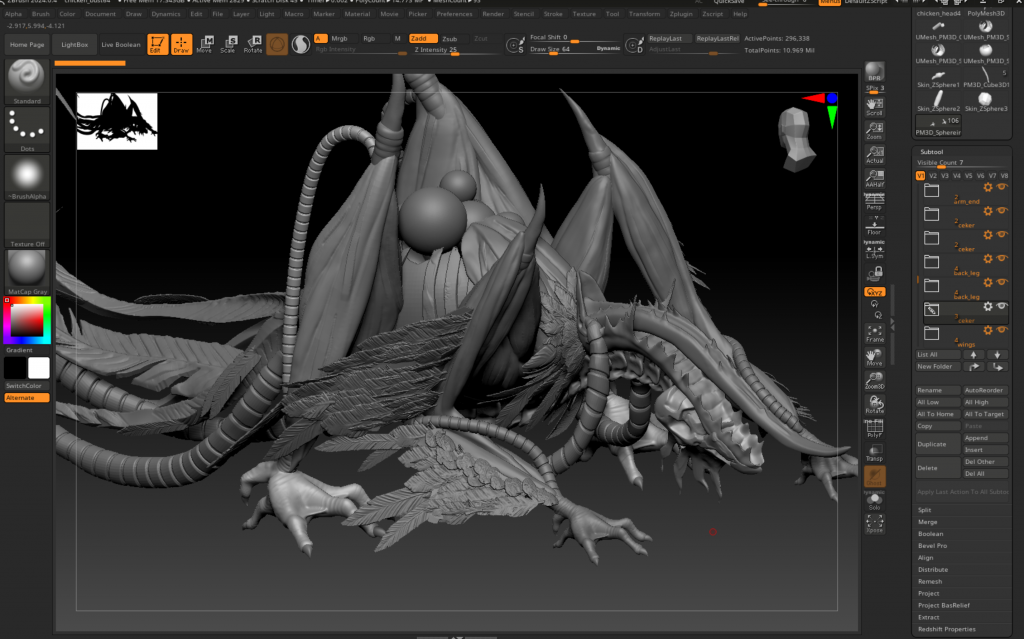
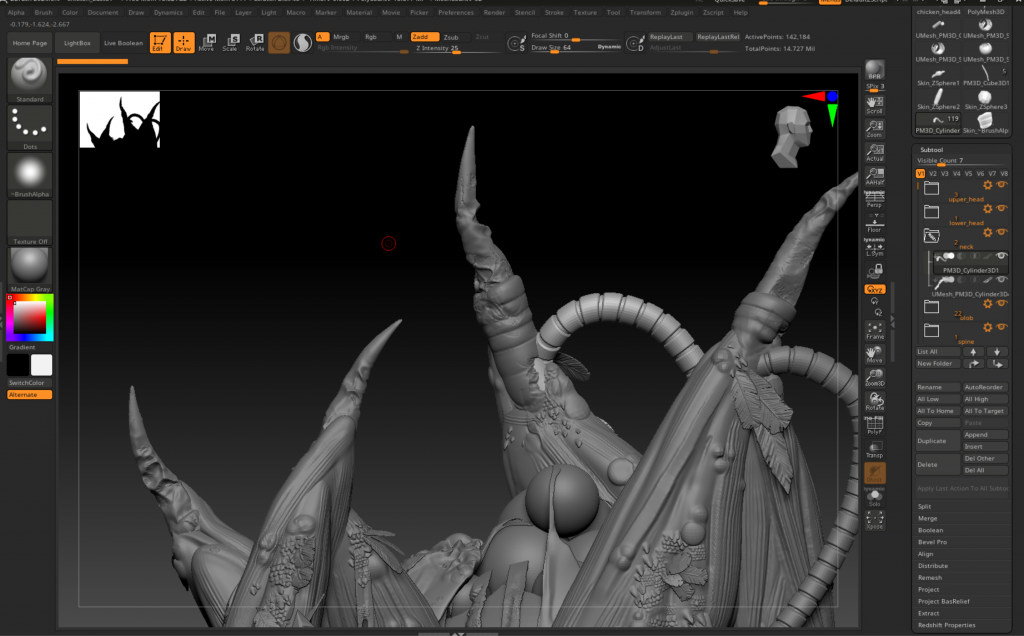
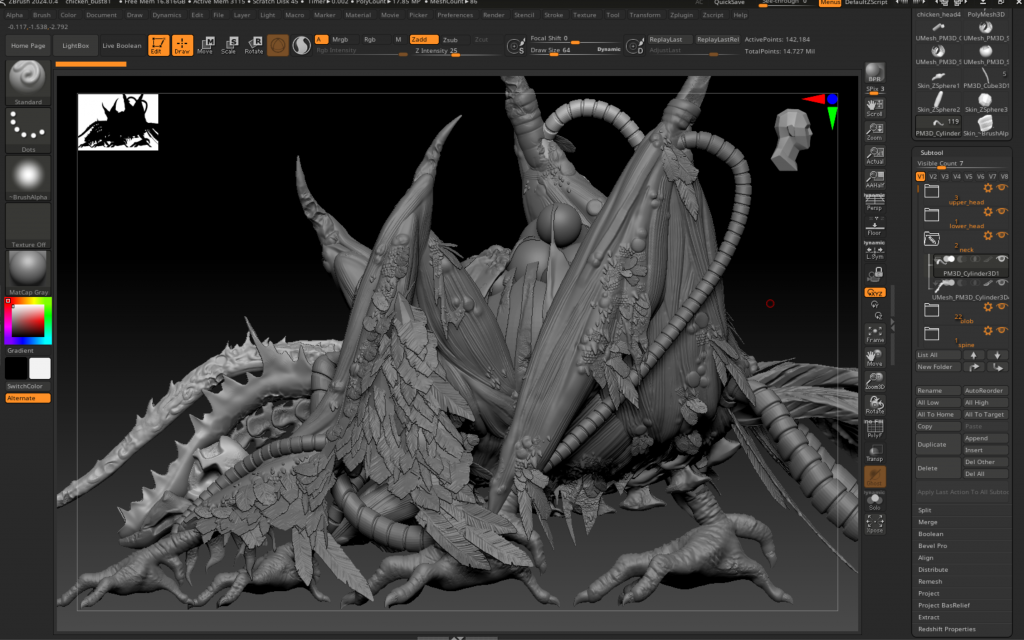
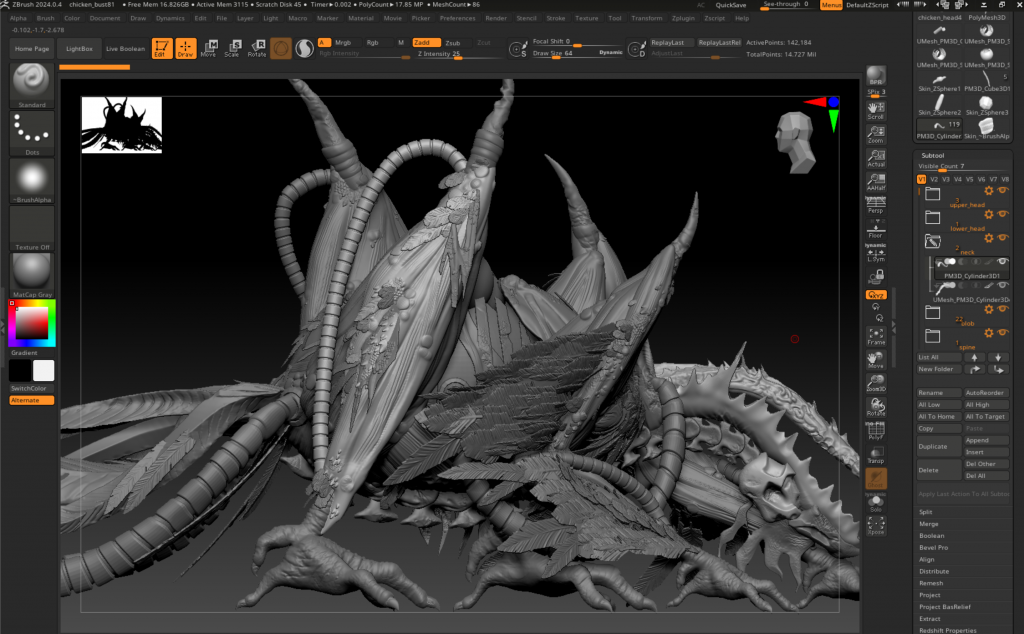
3D Model (feather & wings)
In order to add feathers with ease without having to manually add thousands of their models, I converted them into a custom brush.
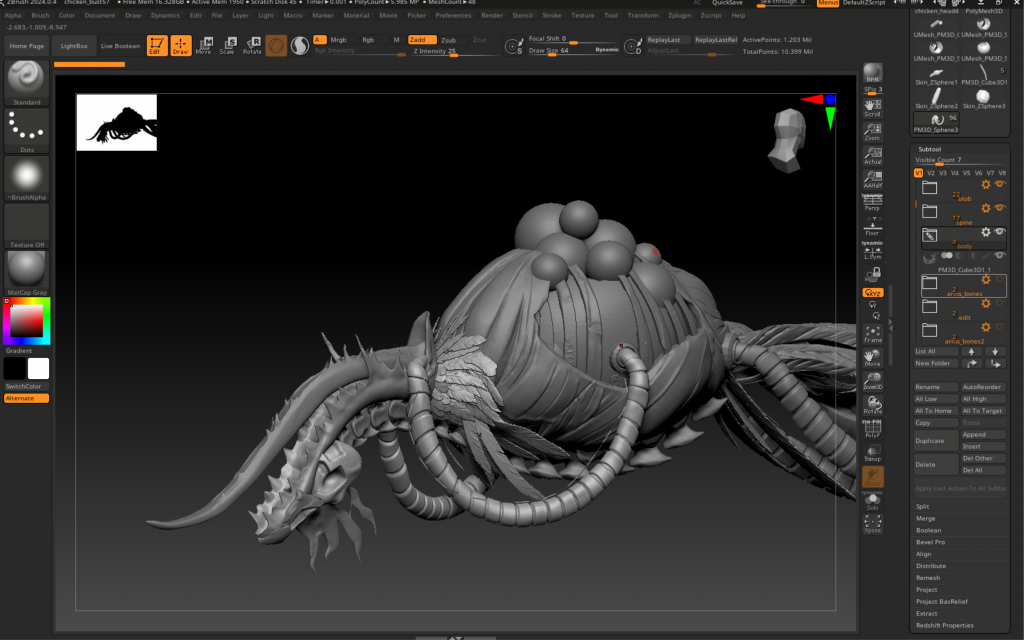
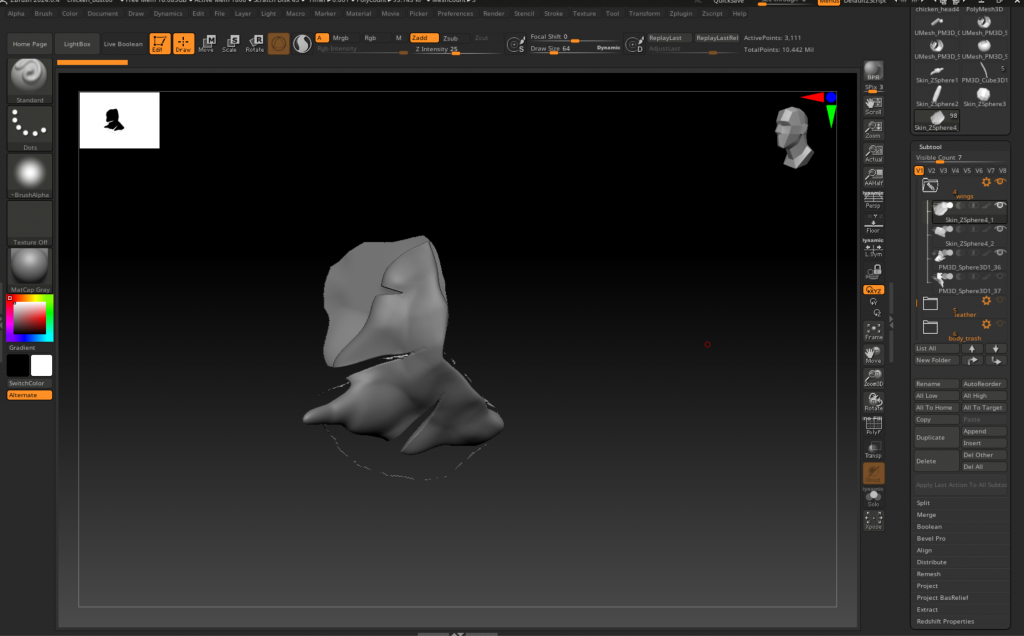
Afterward, I tried creating the base model of the wings as a guide for the shape and structure of the wings.
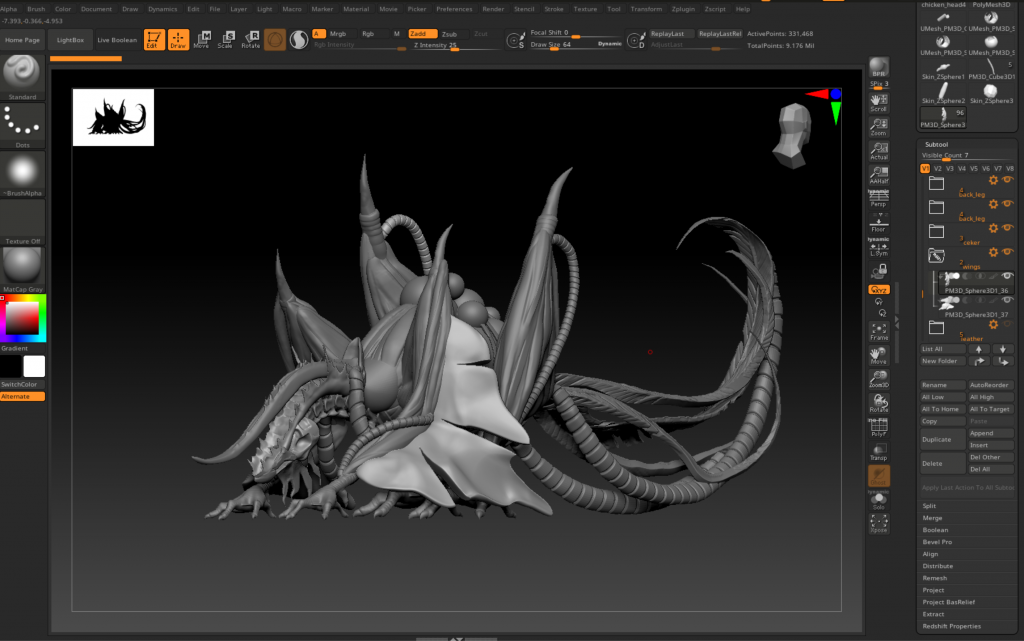
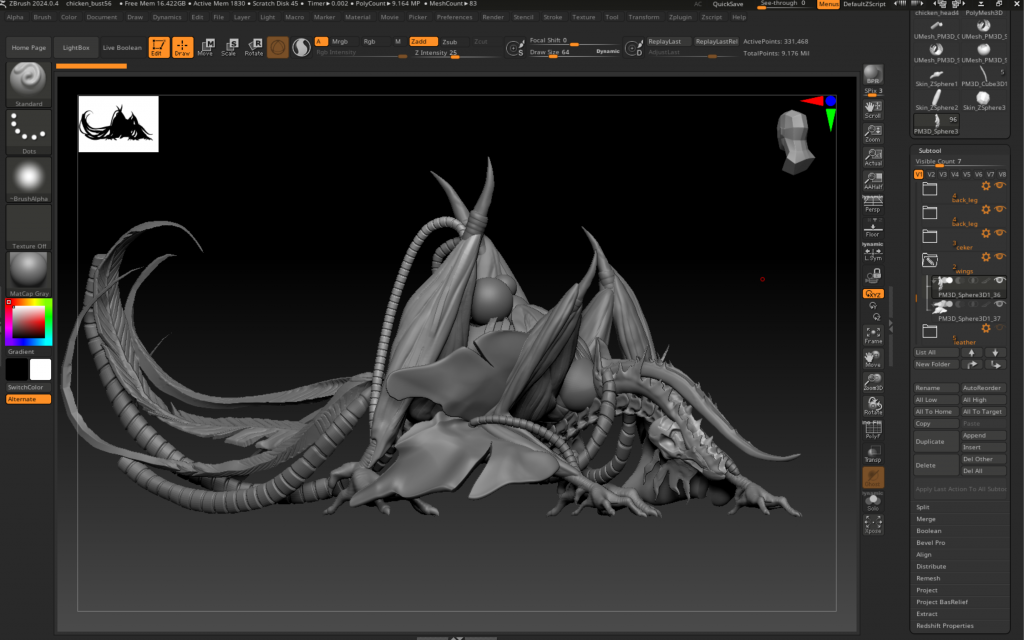
Then, I followed a YouTube tutorial by Maxon Zbrush (2017), where he used a low-poly 3D plane as the base mesh. The tutorial showed the use of a plane as it only has one visible surface, hence applying the feather on that side only.
Next, he divided the wing’s base into different sections according to the feather types in each area.
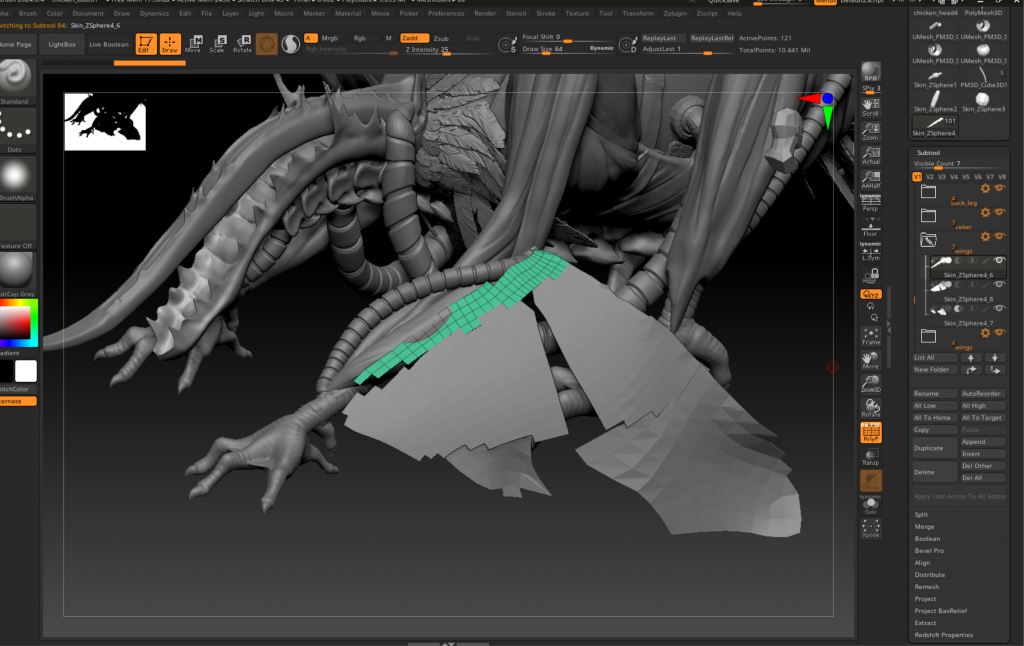
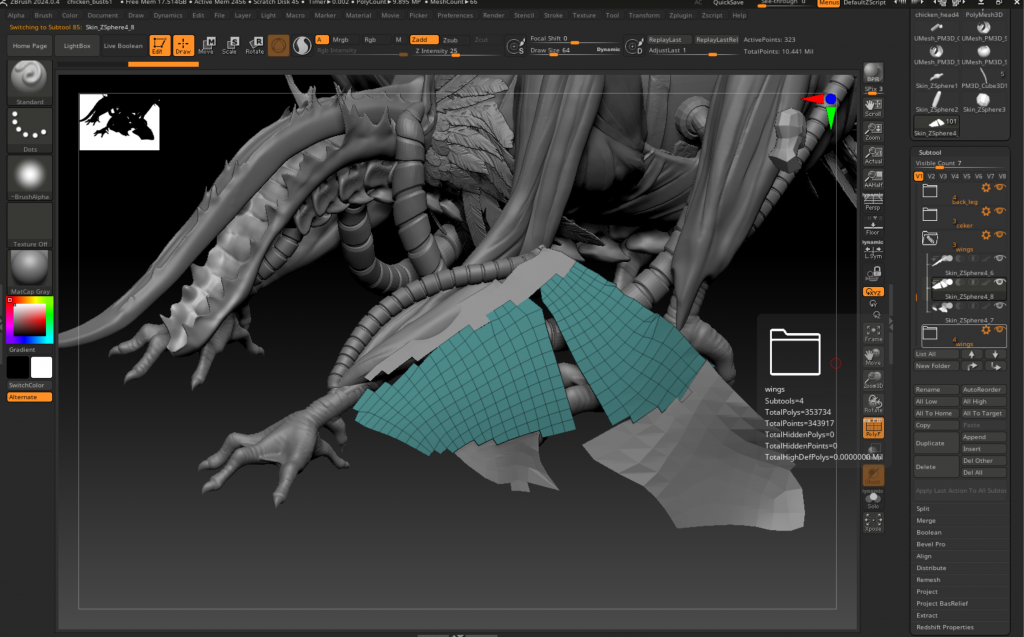

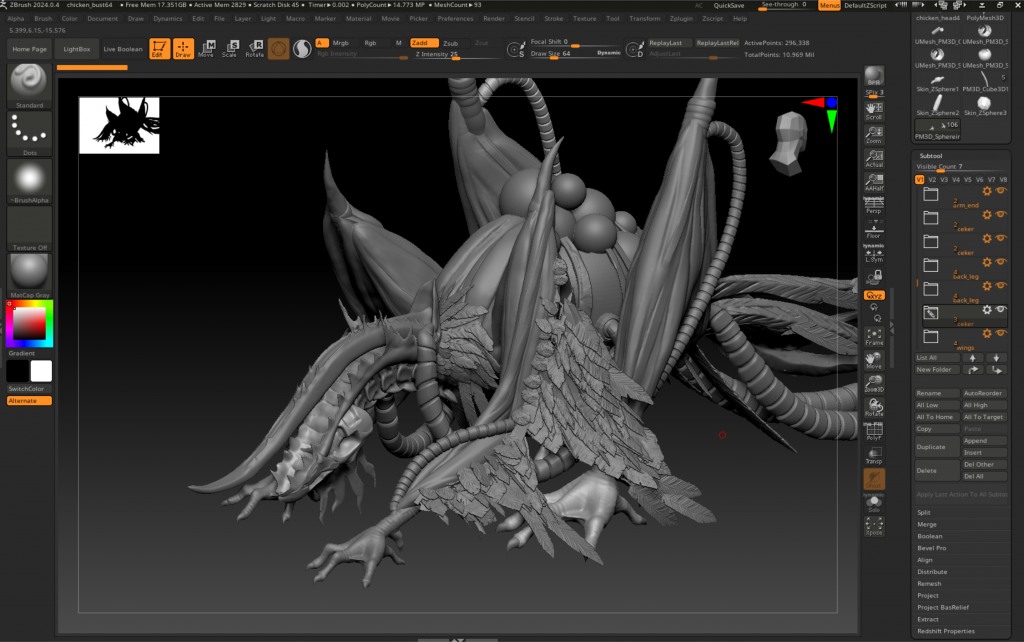
He then converted each respective feather model into NanoMeshes and applied it to each section. With this process, I obtained the desired result of the wings. Although, it was difficult at times, as the feather would sometimes face the wrong direction, so I had to move and re-adjust the base mesh several times.
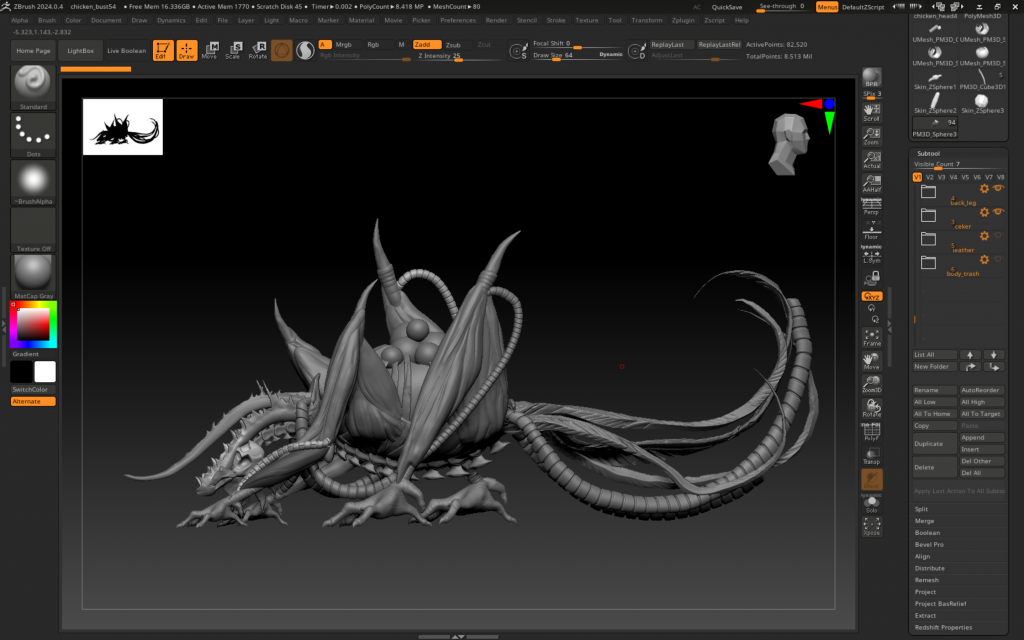
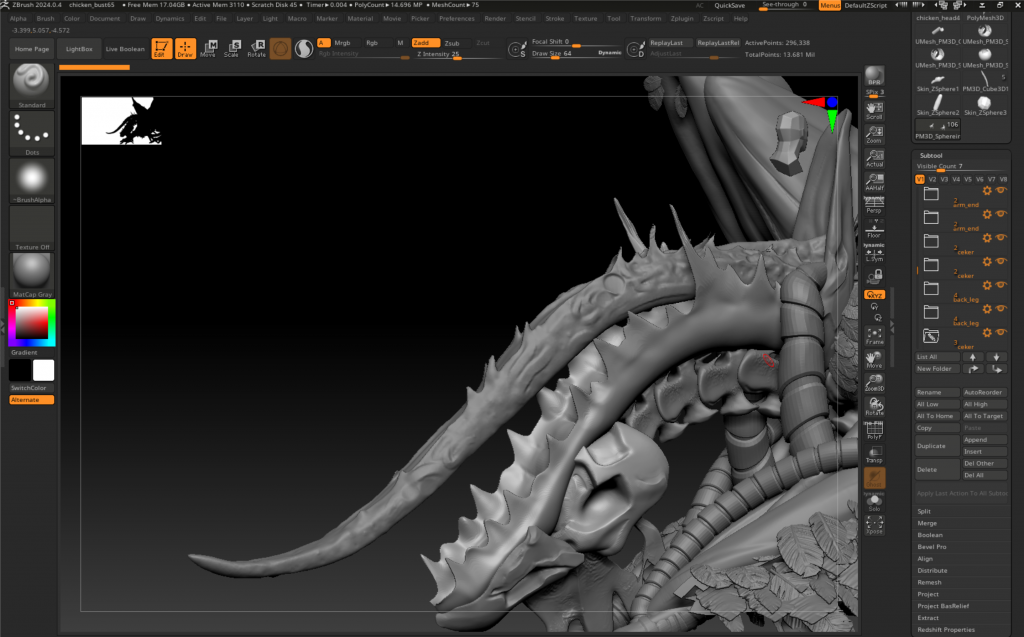
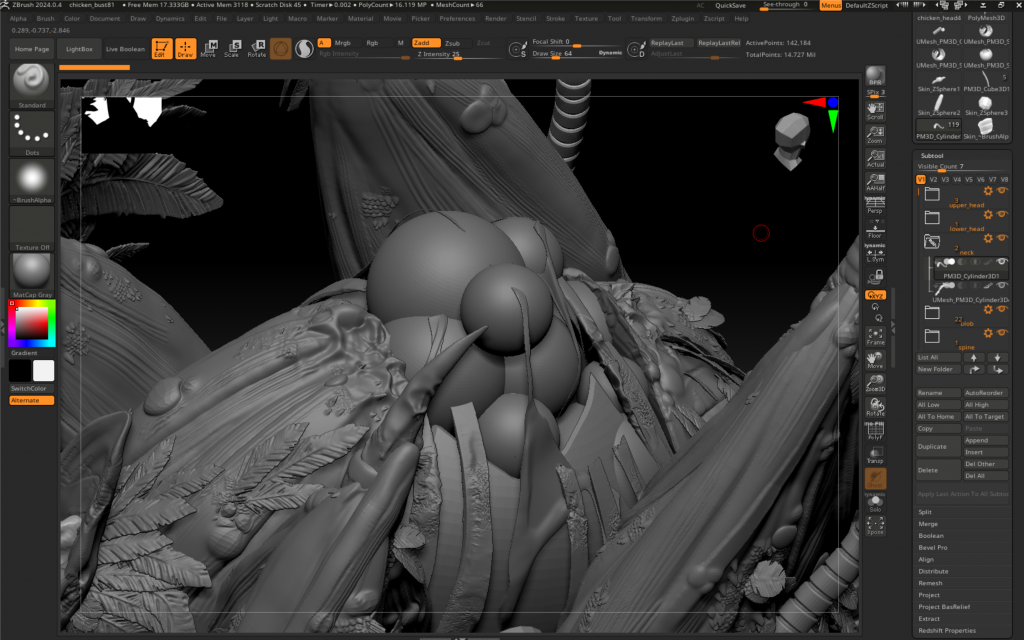
3D Texture
Feedback: Follow the feathers level of detail and texture to maintain a consistent/harmonious look on the whole model. Try adding some bumps and pointy fringed features on the tongue to add more disgusting elements.
I completely agree, as the feathers look the most realistic than the whole entire chicken model. My initial aim was also to create a model as realistic/highly detailed as Ishikawa’s 3D art (2017). From this point, I’d constantly follow his pattern in creating a highly detailed model with its disgusting features.
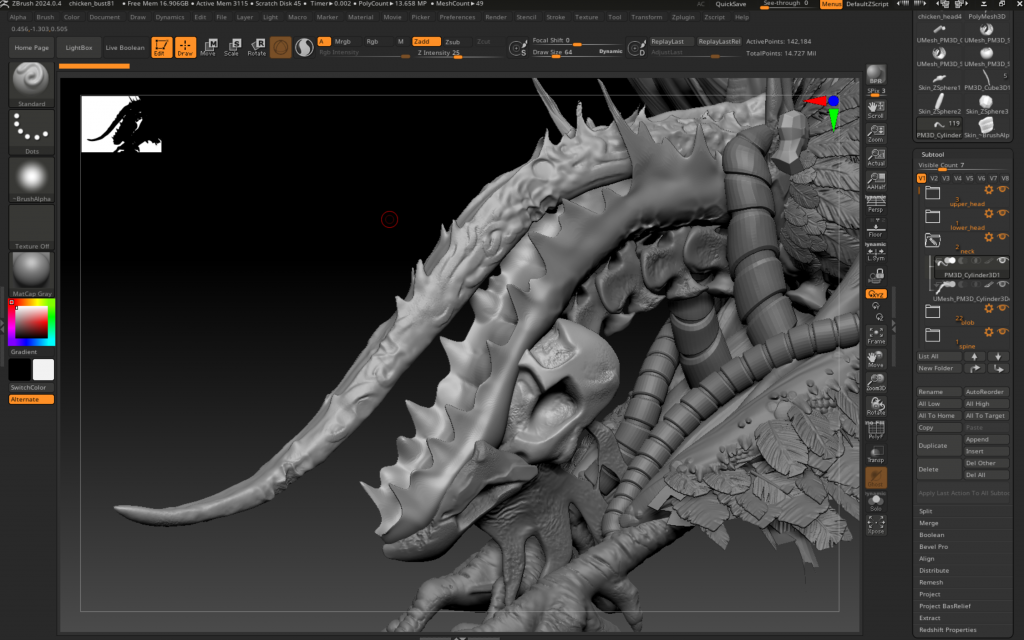
I began by searching for some real-life references to the human tongue and discovered that the sides have a bumpy texture that resembles blobs. Based on this, I added these textures to the chicken’s tongue. Then I also added some damaged, melted texture on some areas of the tongue to indicate the impact of the explosion.
However, I wasn’t satisfied with the initial textured tongue, as the textures appeared too vague. Hence, I decided to push forward and create sharper edges by carving out the hollow parts. As our tutor also introduced us to use noise textures, I decided to follow his suggestions and apply them to the tongue, hence, creating tiny bumps, mimicking the texture of a real tongue. Additionally, as a ‘survivor’ of a lab experiment and the nuclear explosion, I continued to add details that would support it, such as cracks on the skeleton, melted flesh/skin, and burn blisters across its body. Looking at Ishikawa’s 3D model (2017), I followed his technique to accumulate the bumps/blisters in some areas only. Hence, adding them only on some areas that are considered terribly burnt/damaged. Furthermore, I enhanced the muscle details by using the ‘alpha’ mode of the brush with a stripy texture, allowing me to easily apply a stripy look that resembled muscle fibres.
3D model progress:
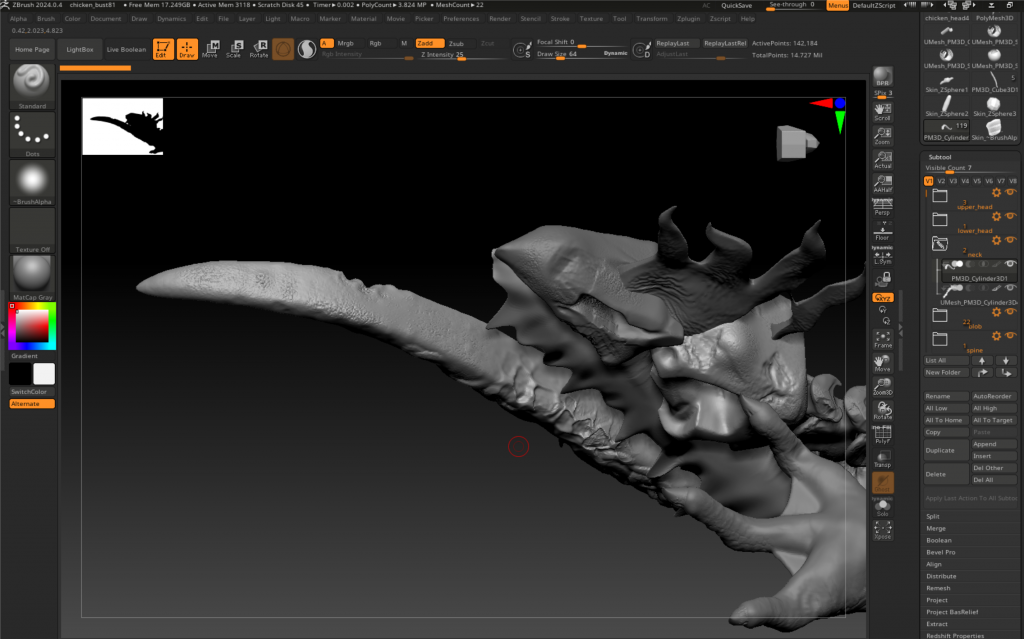
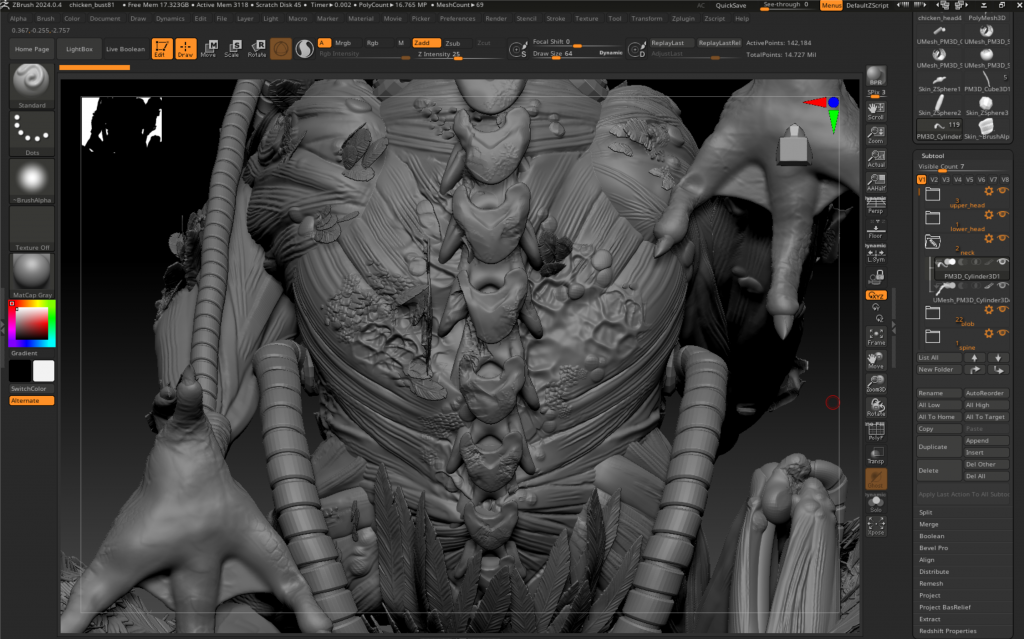
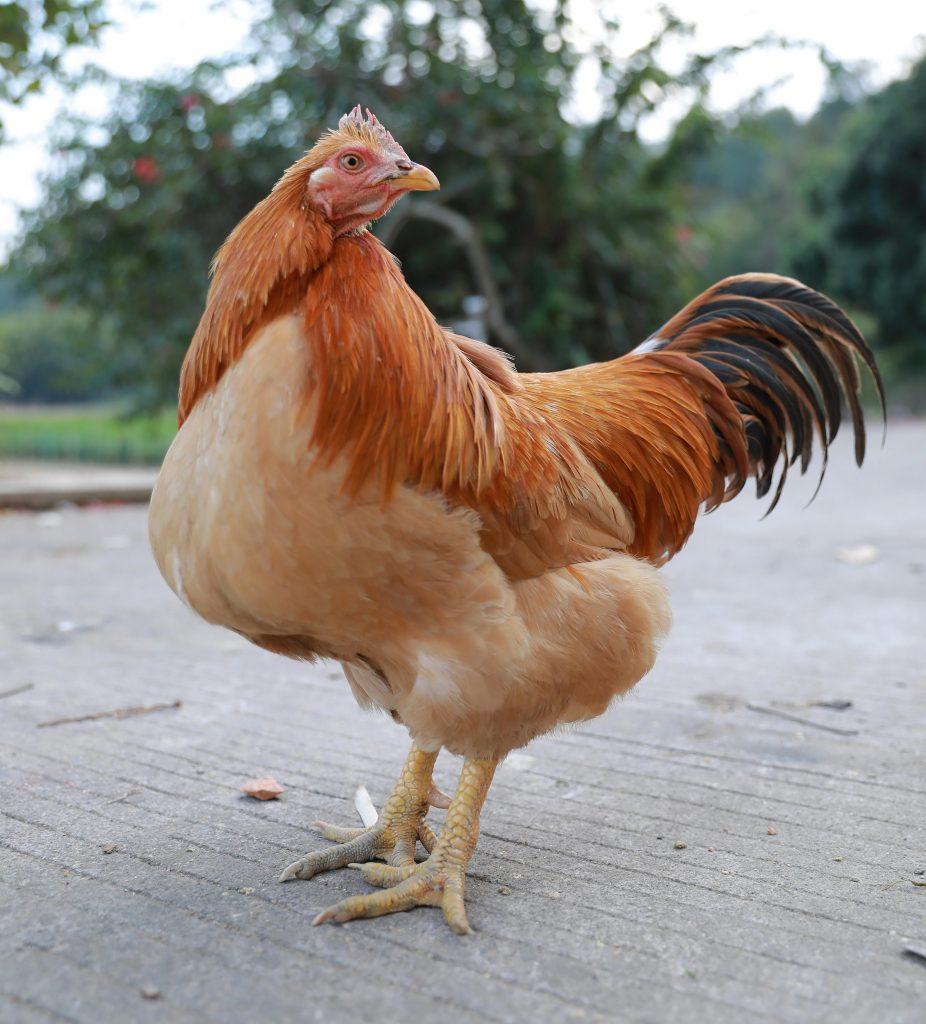
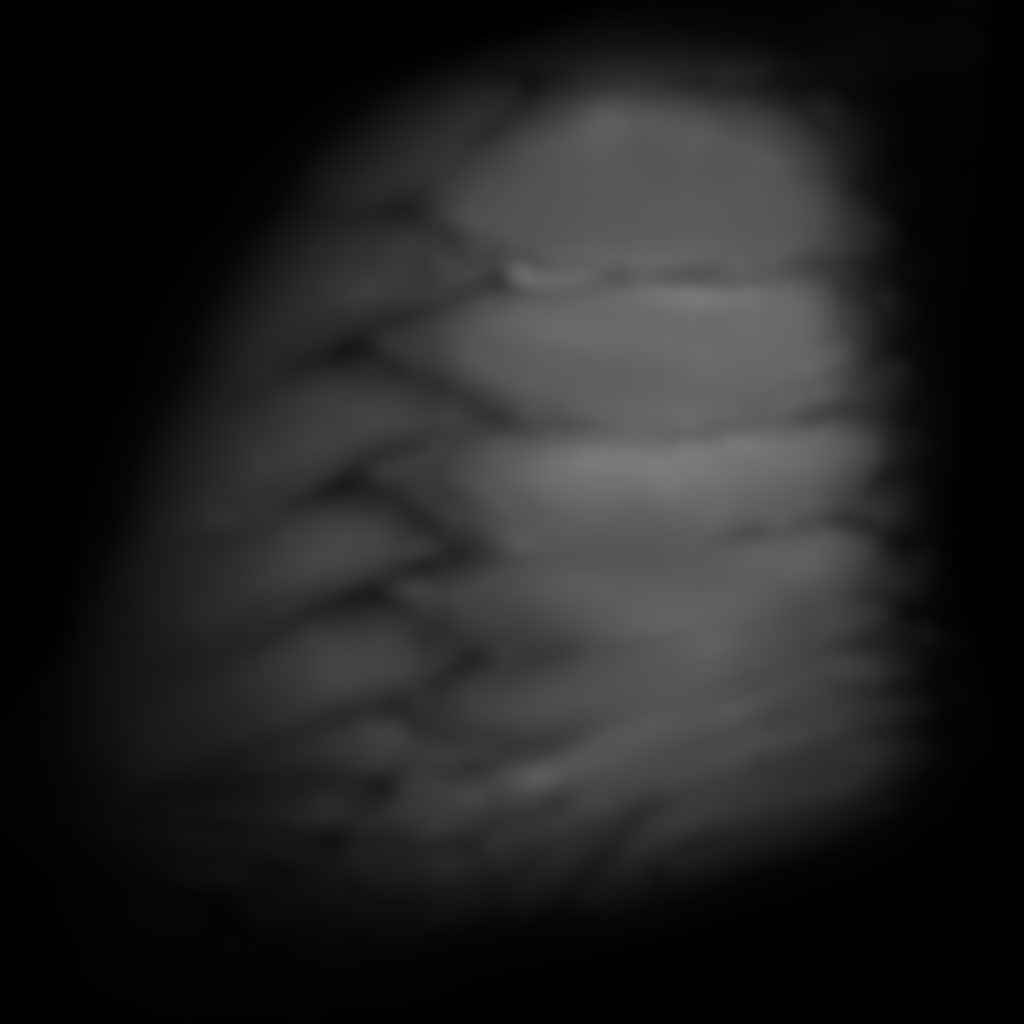
During the texturing process, I also experimented with importing a texture in order to create realistic textures. I grabbed a 4k chicken image from Pexels, then cropped its leg detail in Photoshop and turned them monochromatic before importing it as an ‘alpha’ brush in ZBrush. As a result, I could create a realistically accurate textured foot of a chicken. Moving forward, I want to experiment more with creating my own textured brush in the future, whether it is my own stylised texture creation or a photo-realistic texture from pictures.

Bibliography
Ishikawa, Y. (2017) ‘THE EVIL WITHIN2 – Matriarch Spider&Tentacle’ [Artstation]. 21 December. Available at: https://www.artstation.com/artwork/dnvEW (Accessed: 24 February 2025).
Maxon ZBrush (2017) Michael Pavlovich – Pavlovich Workshop – Episode 35. 6 December. Available at: https://www.youtube.com/watch?v=3TSzXHlOfuM (Accessed: 11 March 2025).